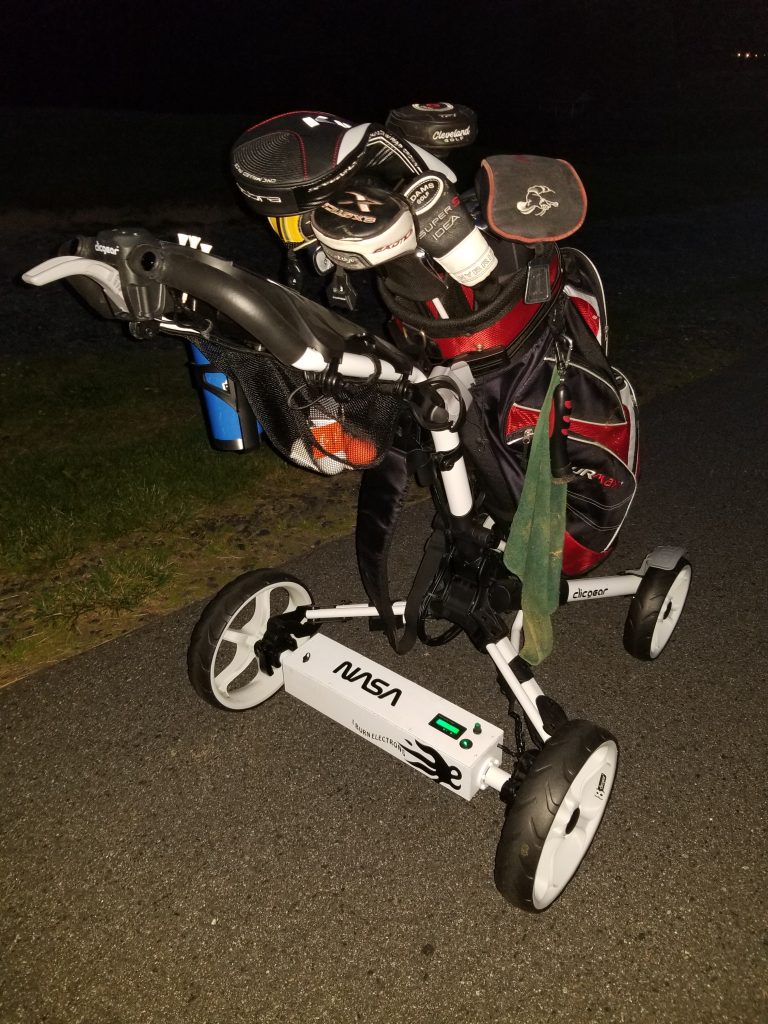
Playing golf is one of my favorite hobbies. It may seem a little pointless or boring to some people, but it is actually a lot of fun. I've been playing golf since I was 14 years old. Now that I own a house next to the local golf course, I wanted a way to stay in shape while keeping a little extra money in my pocket. As a daily fee member, 9 holes costs $22 the majority of that being the cart fee. Being located in the Blue Ridge Mountains, walking can be extremely tiresome. Enter the electric push cart....
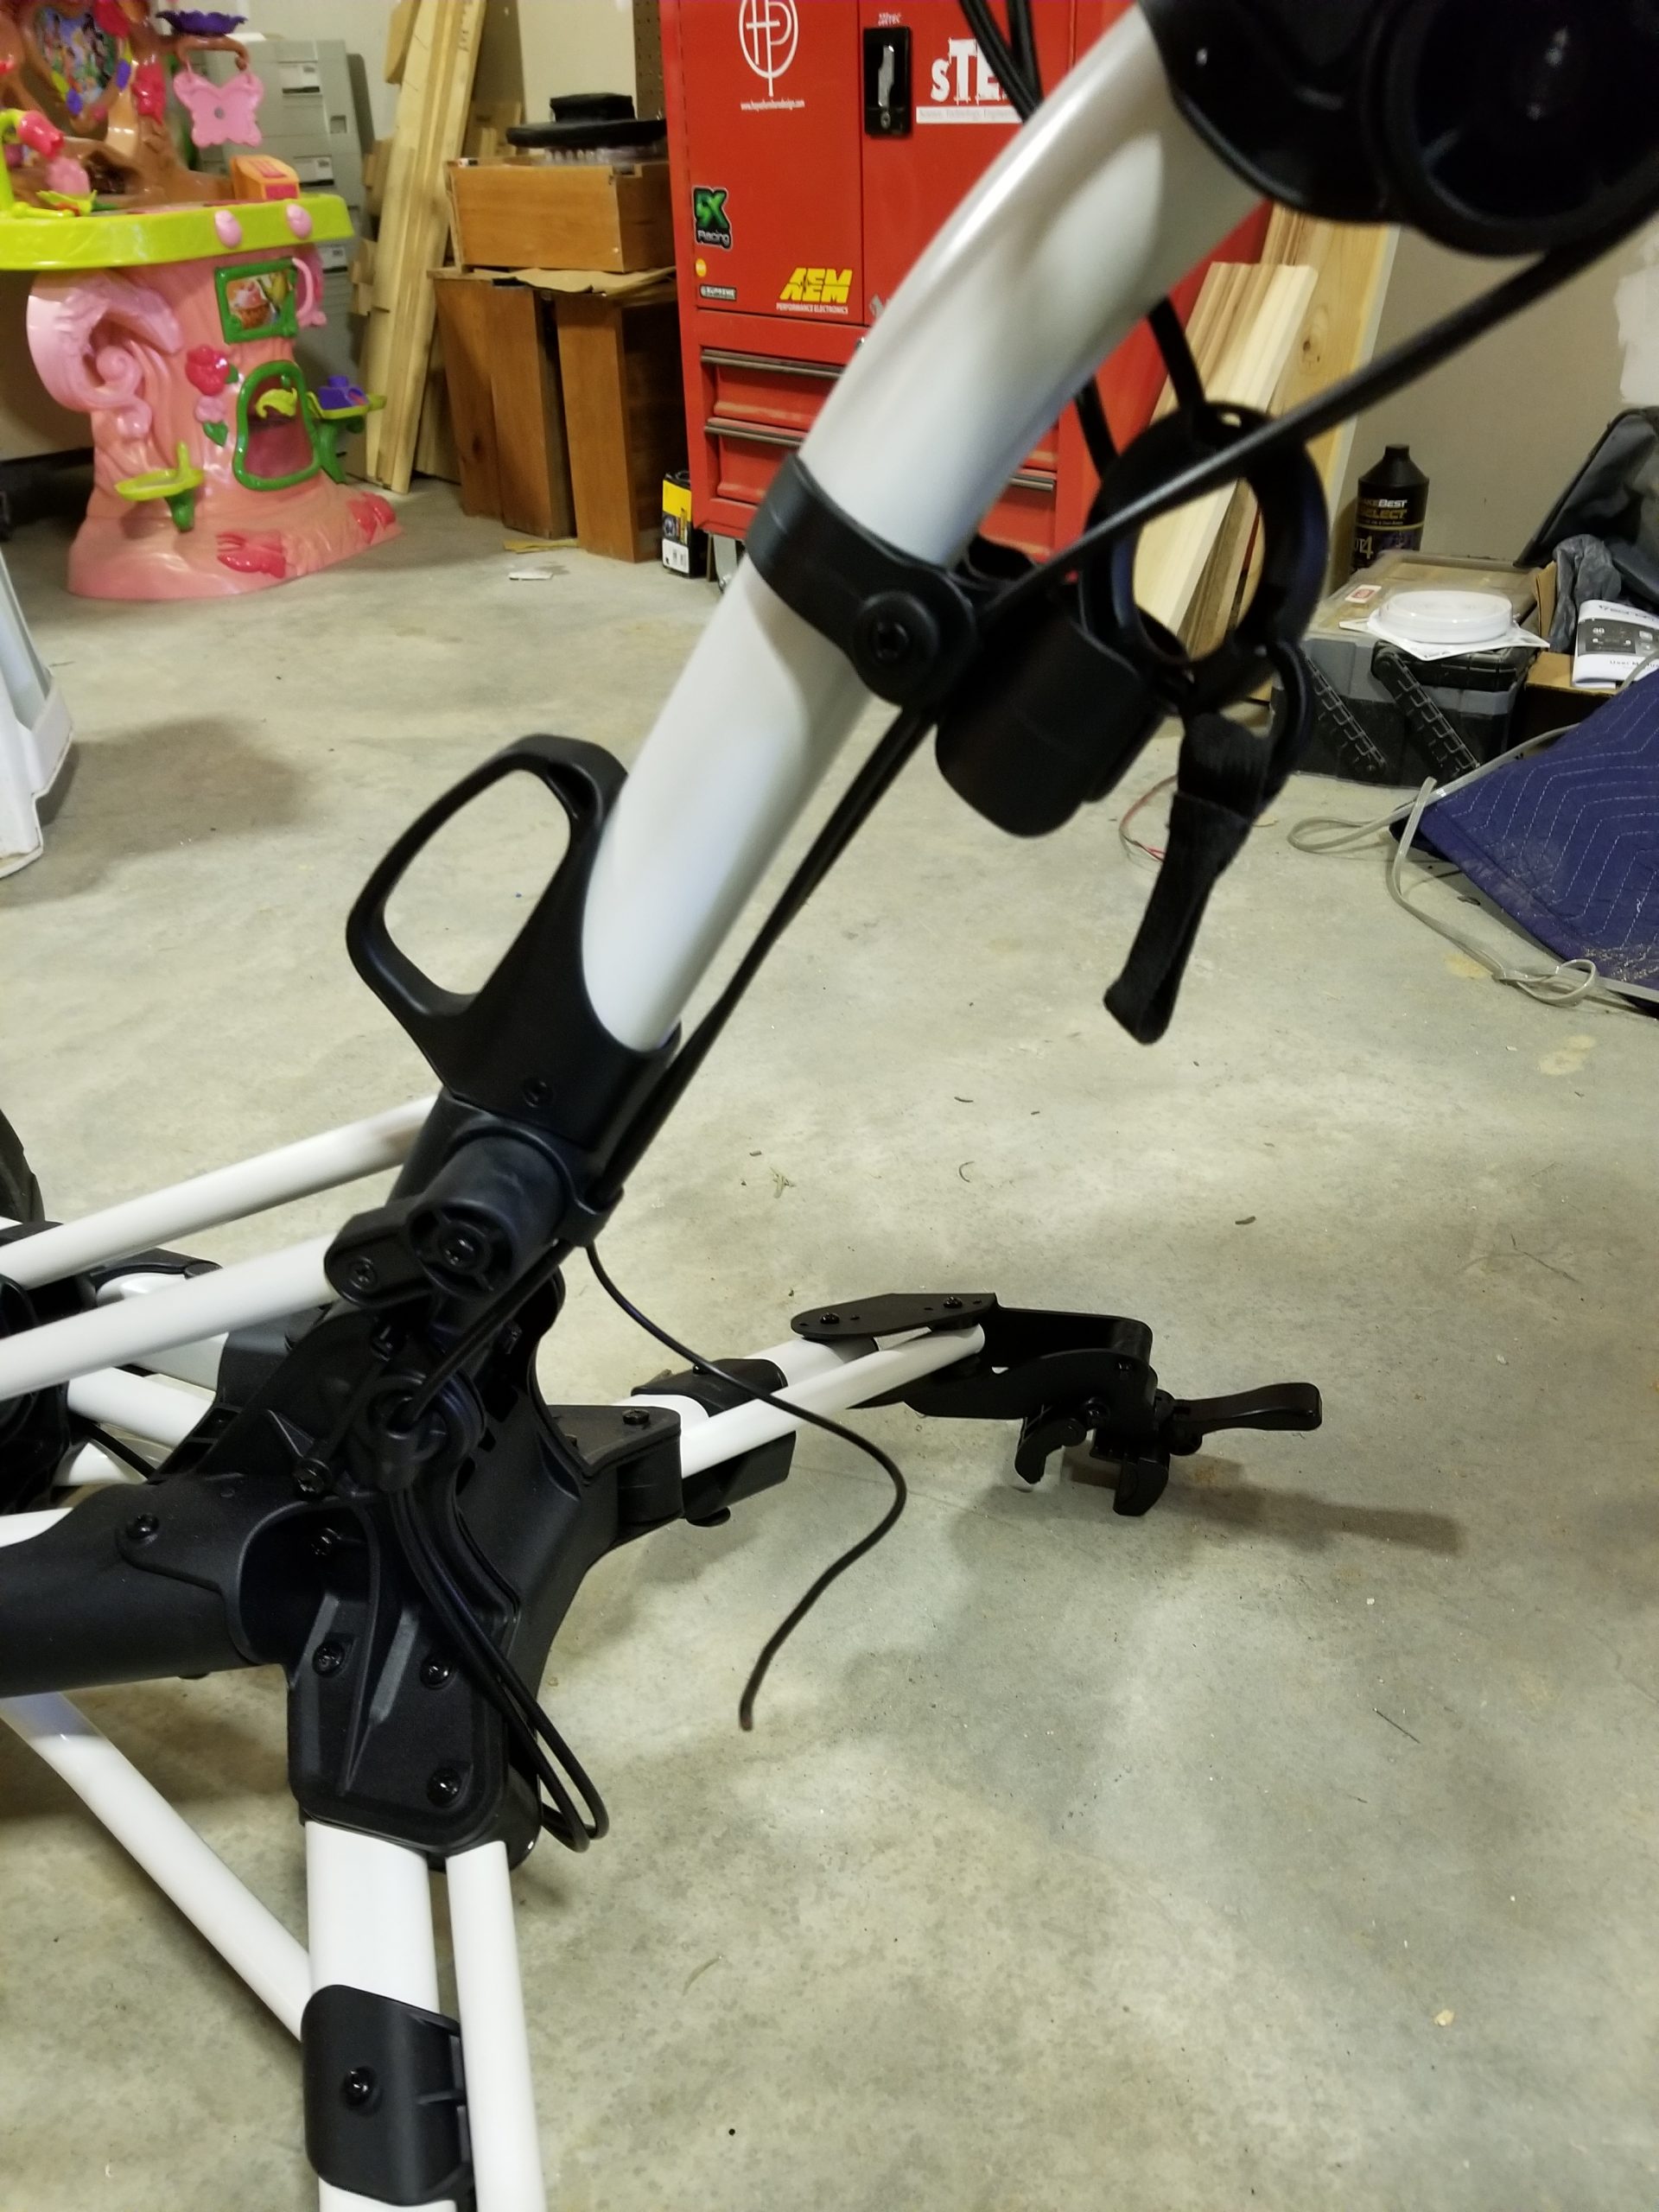
There are some electric, walk-behind carts on the market, but where is the fun in just buying one when you can build your own? One of the products on the market consists of only the back axle where adapters are used to attach it to popular manual push cart frames. This was perfect, I could make my own motorized axle and use the OEM adapters to save me some engineering and fab work.
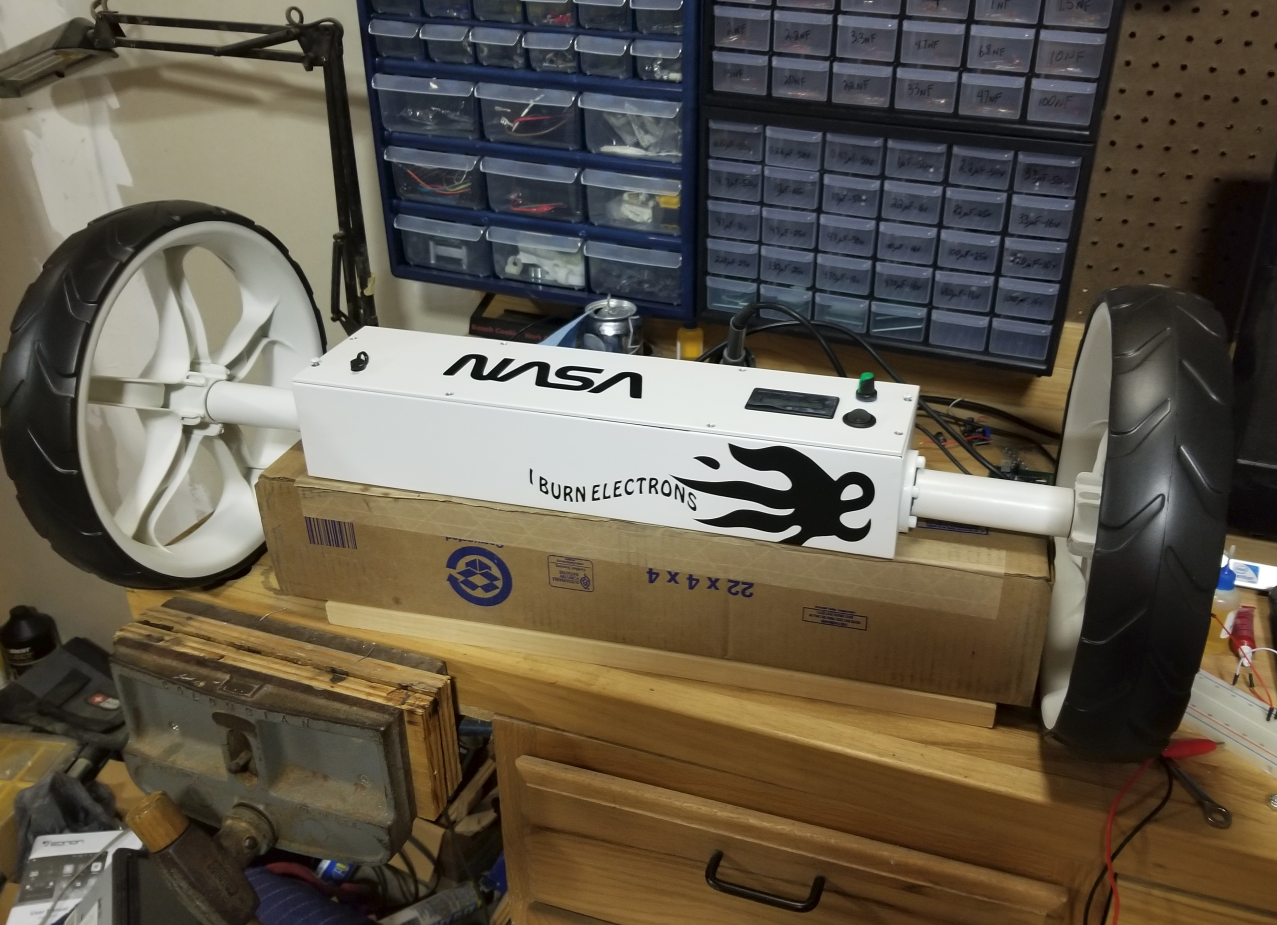
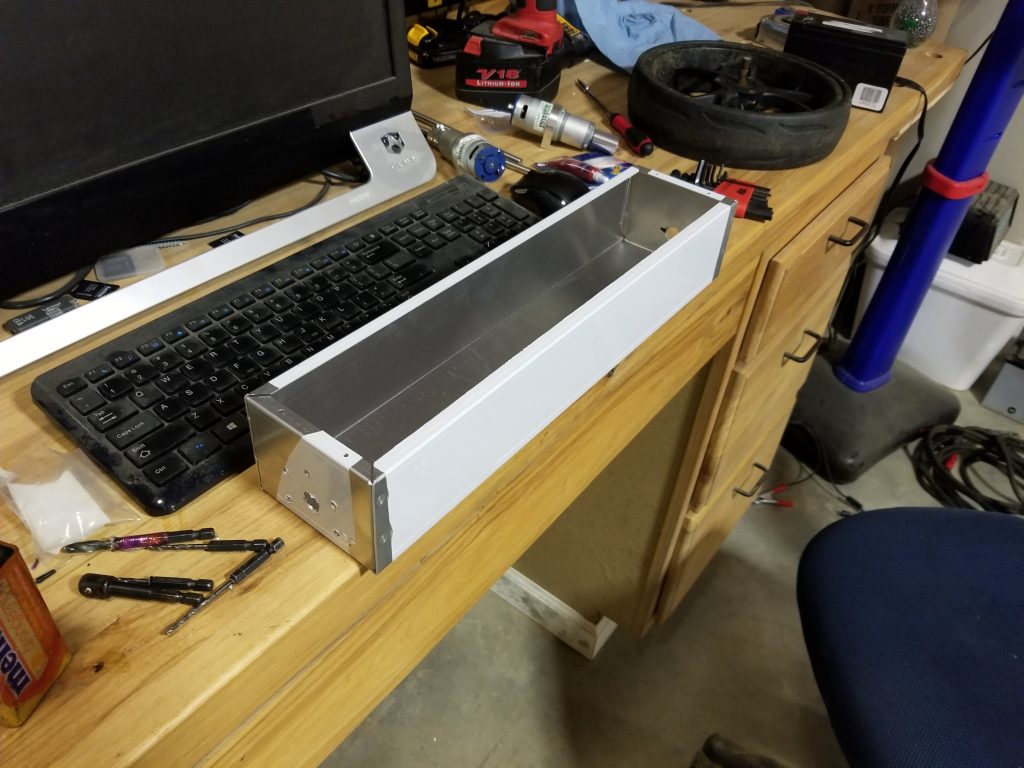
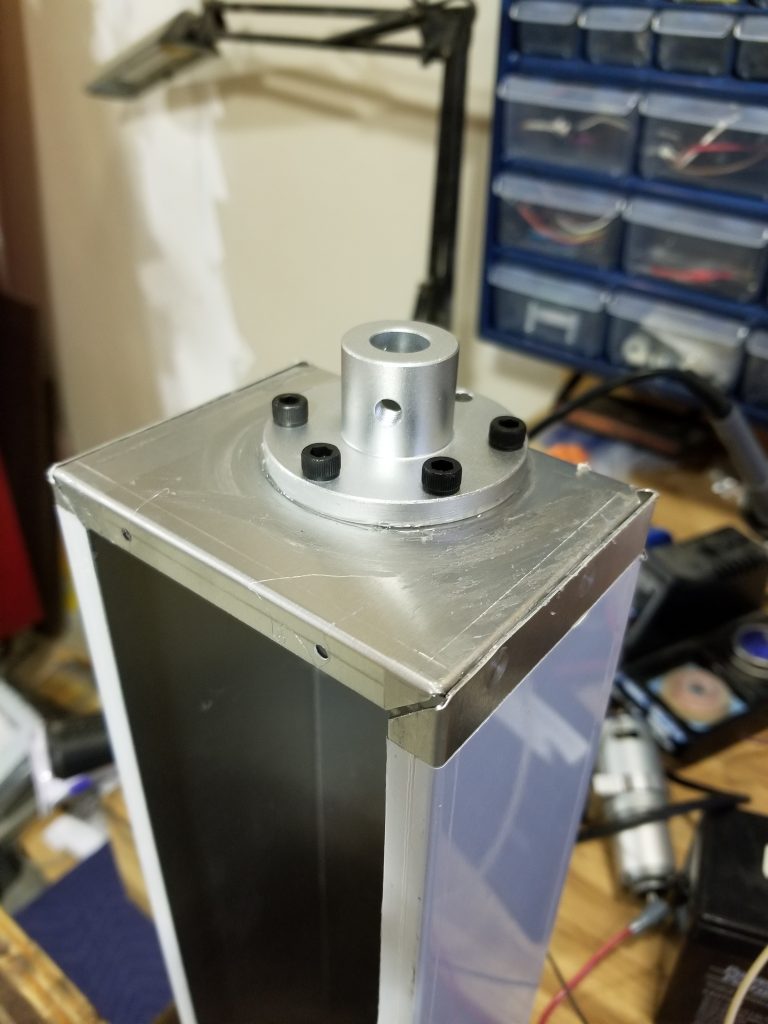
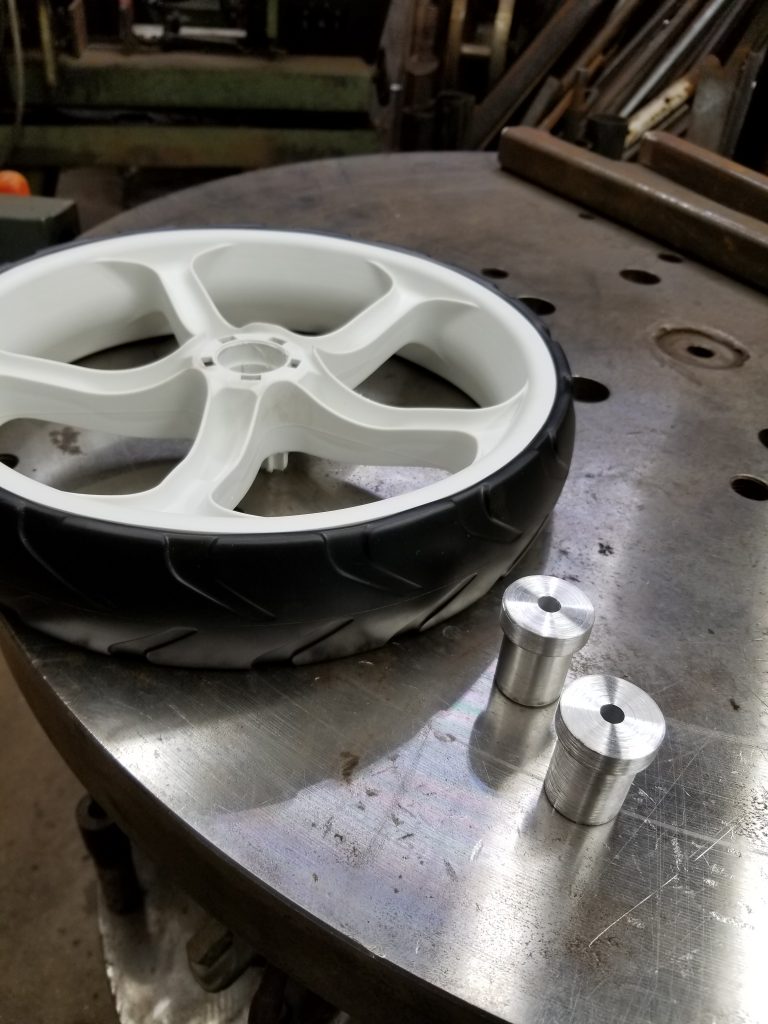
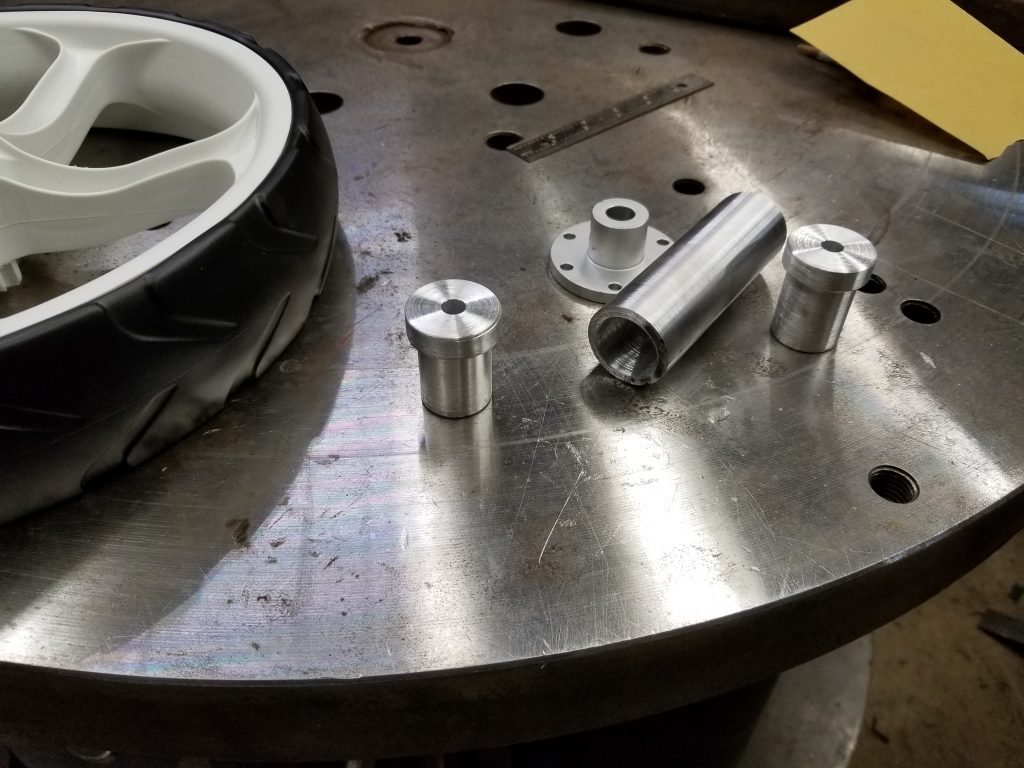
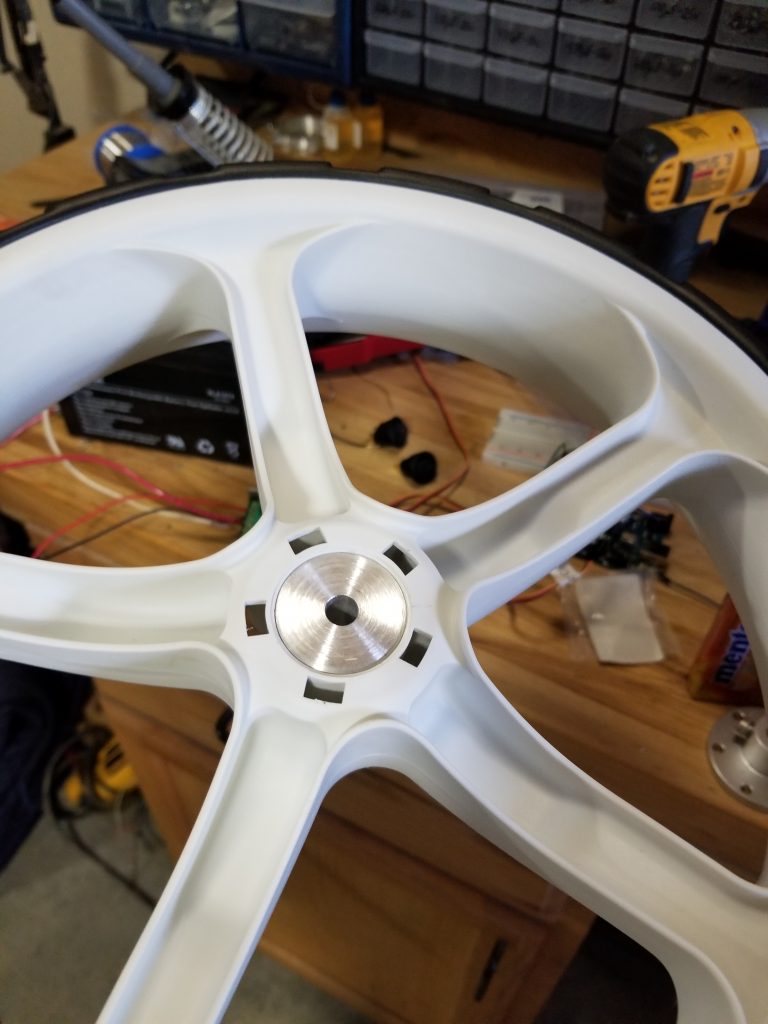
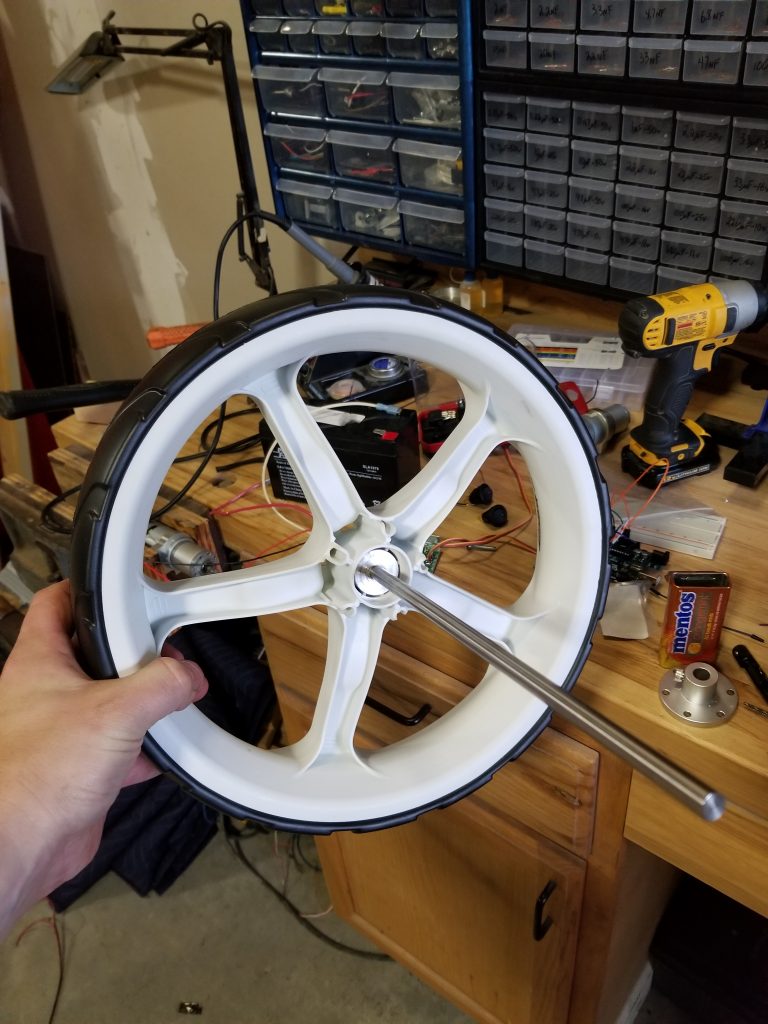
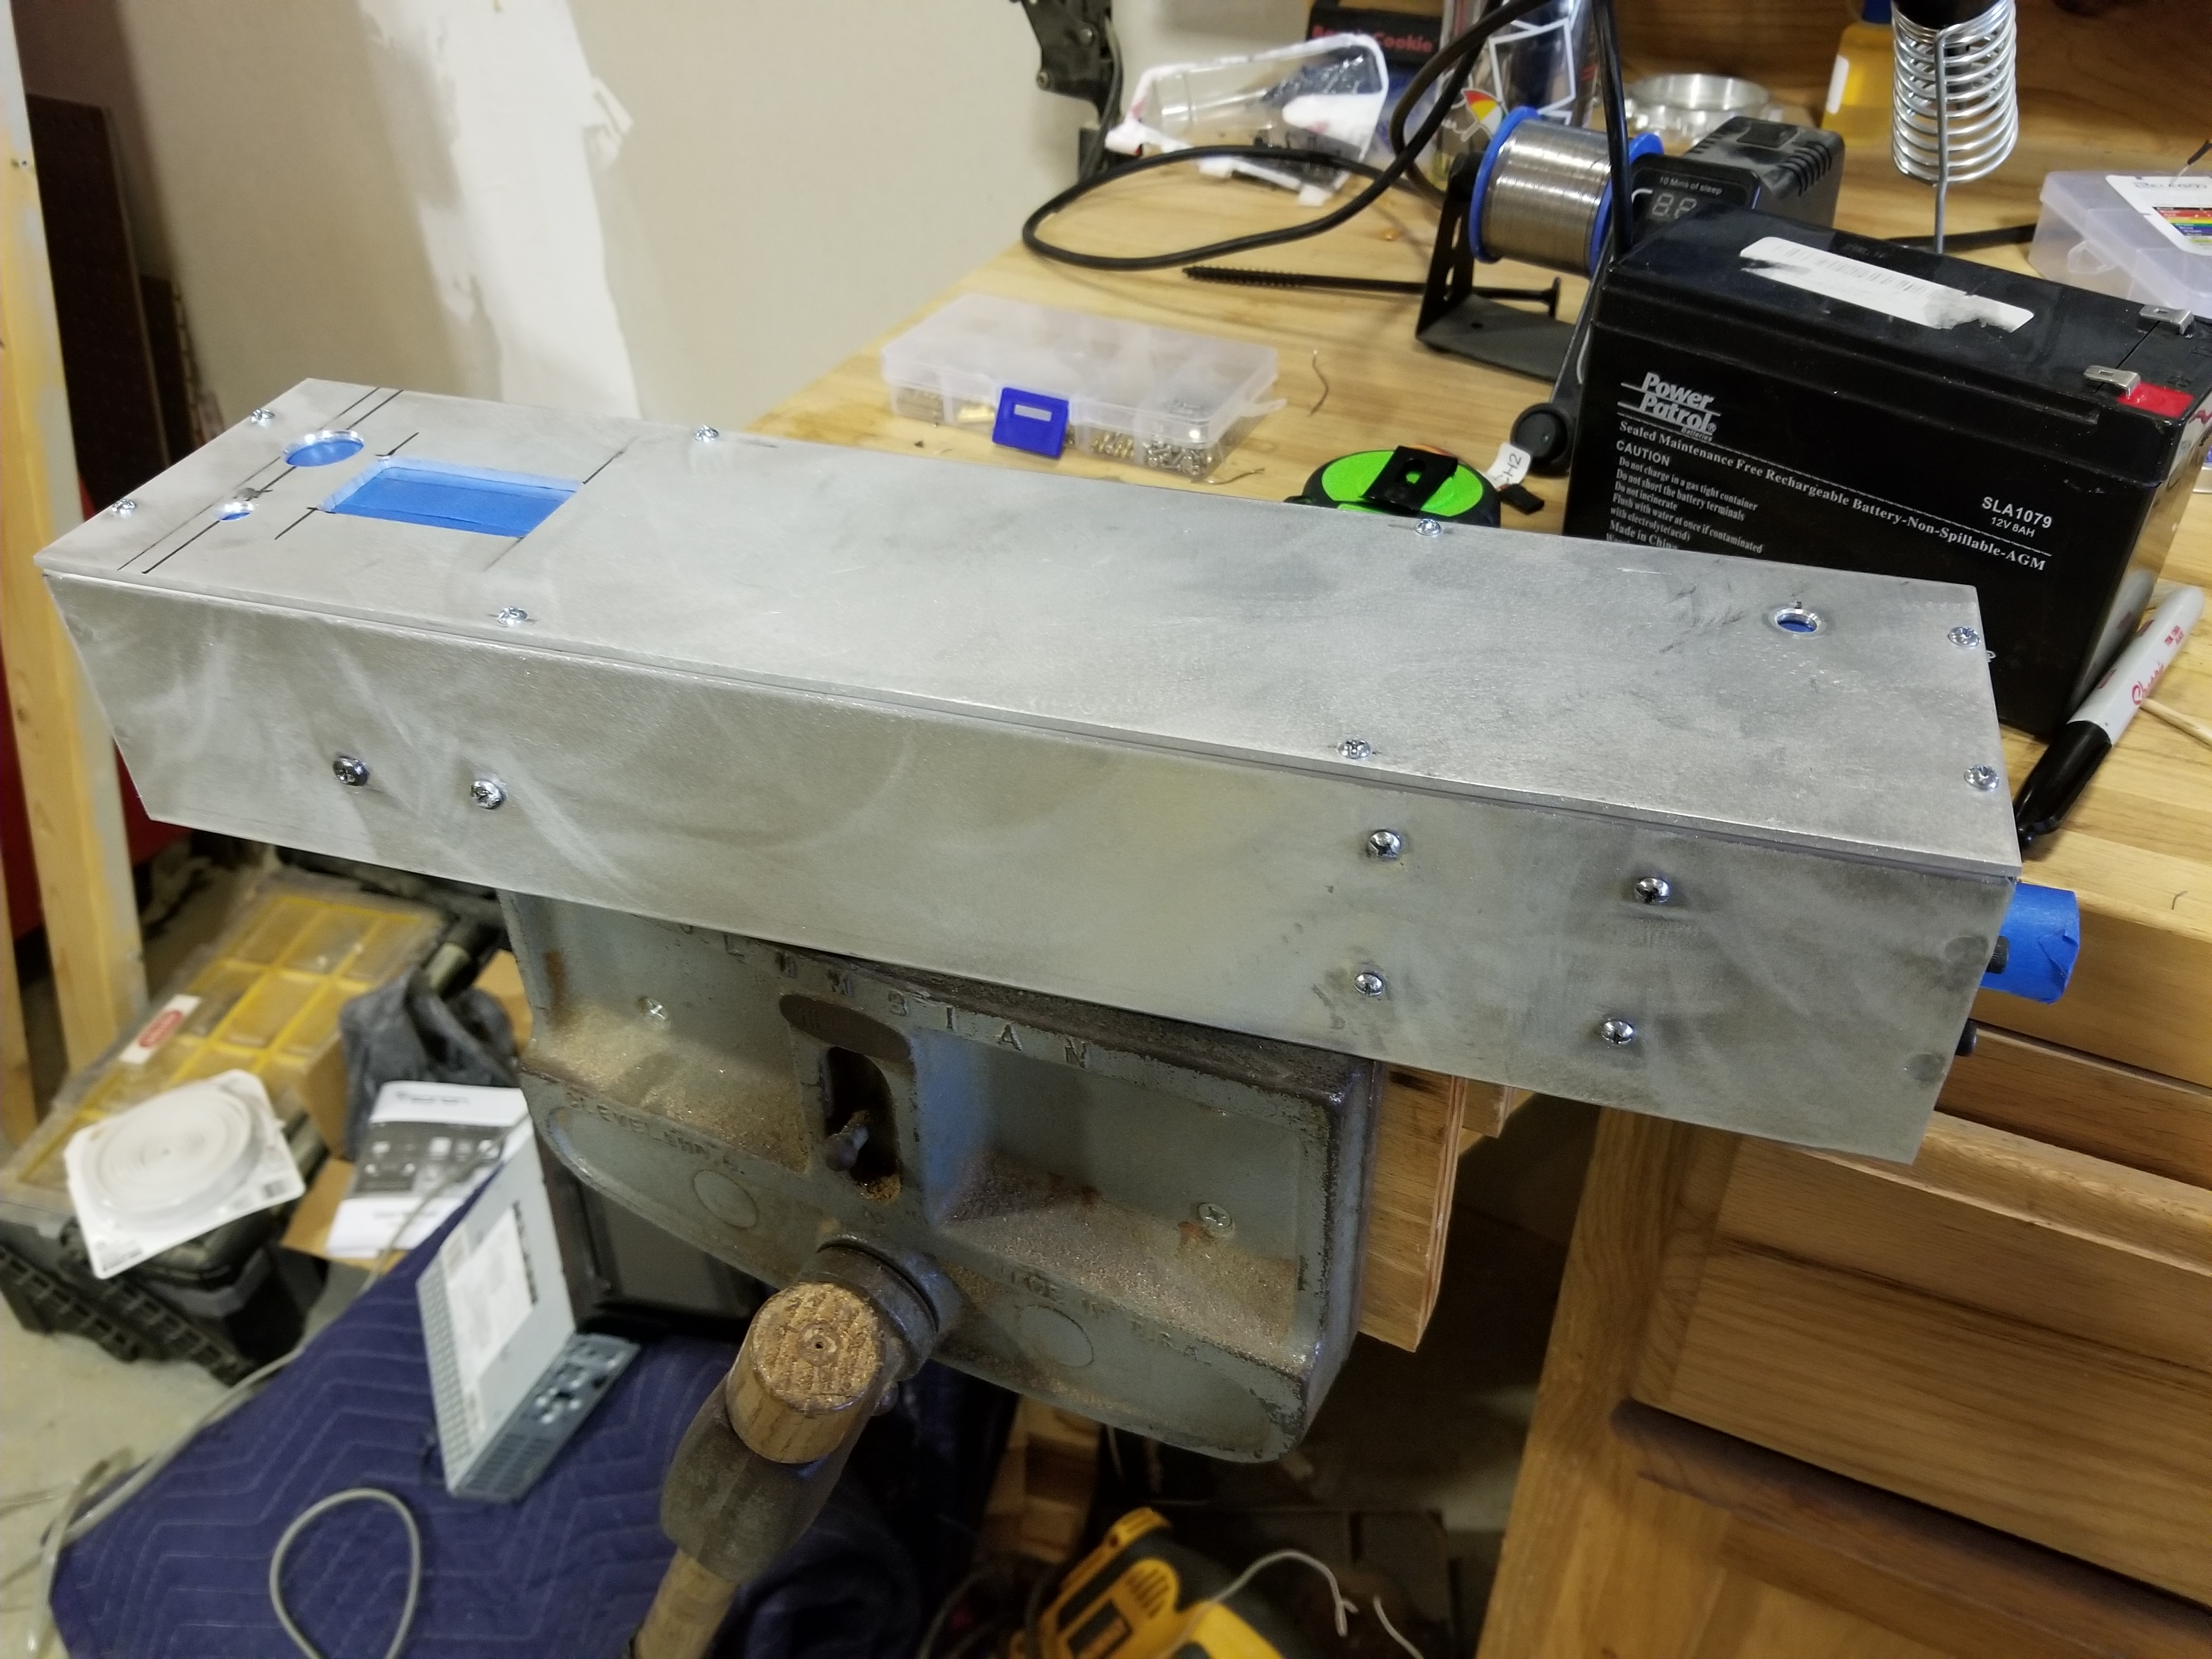
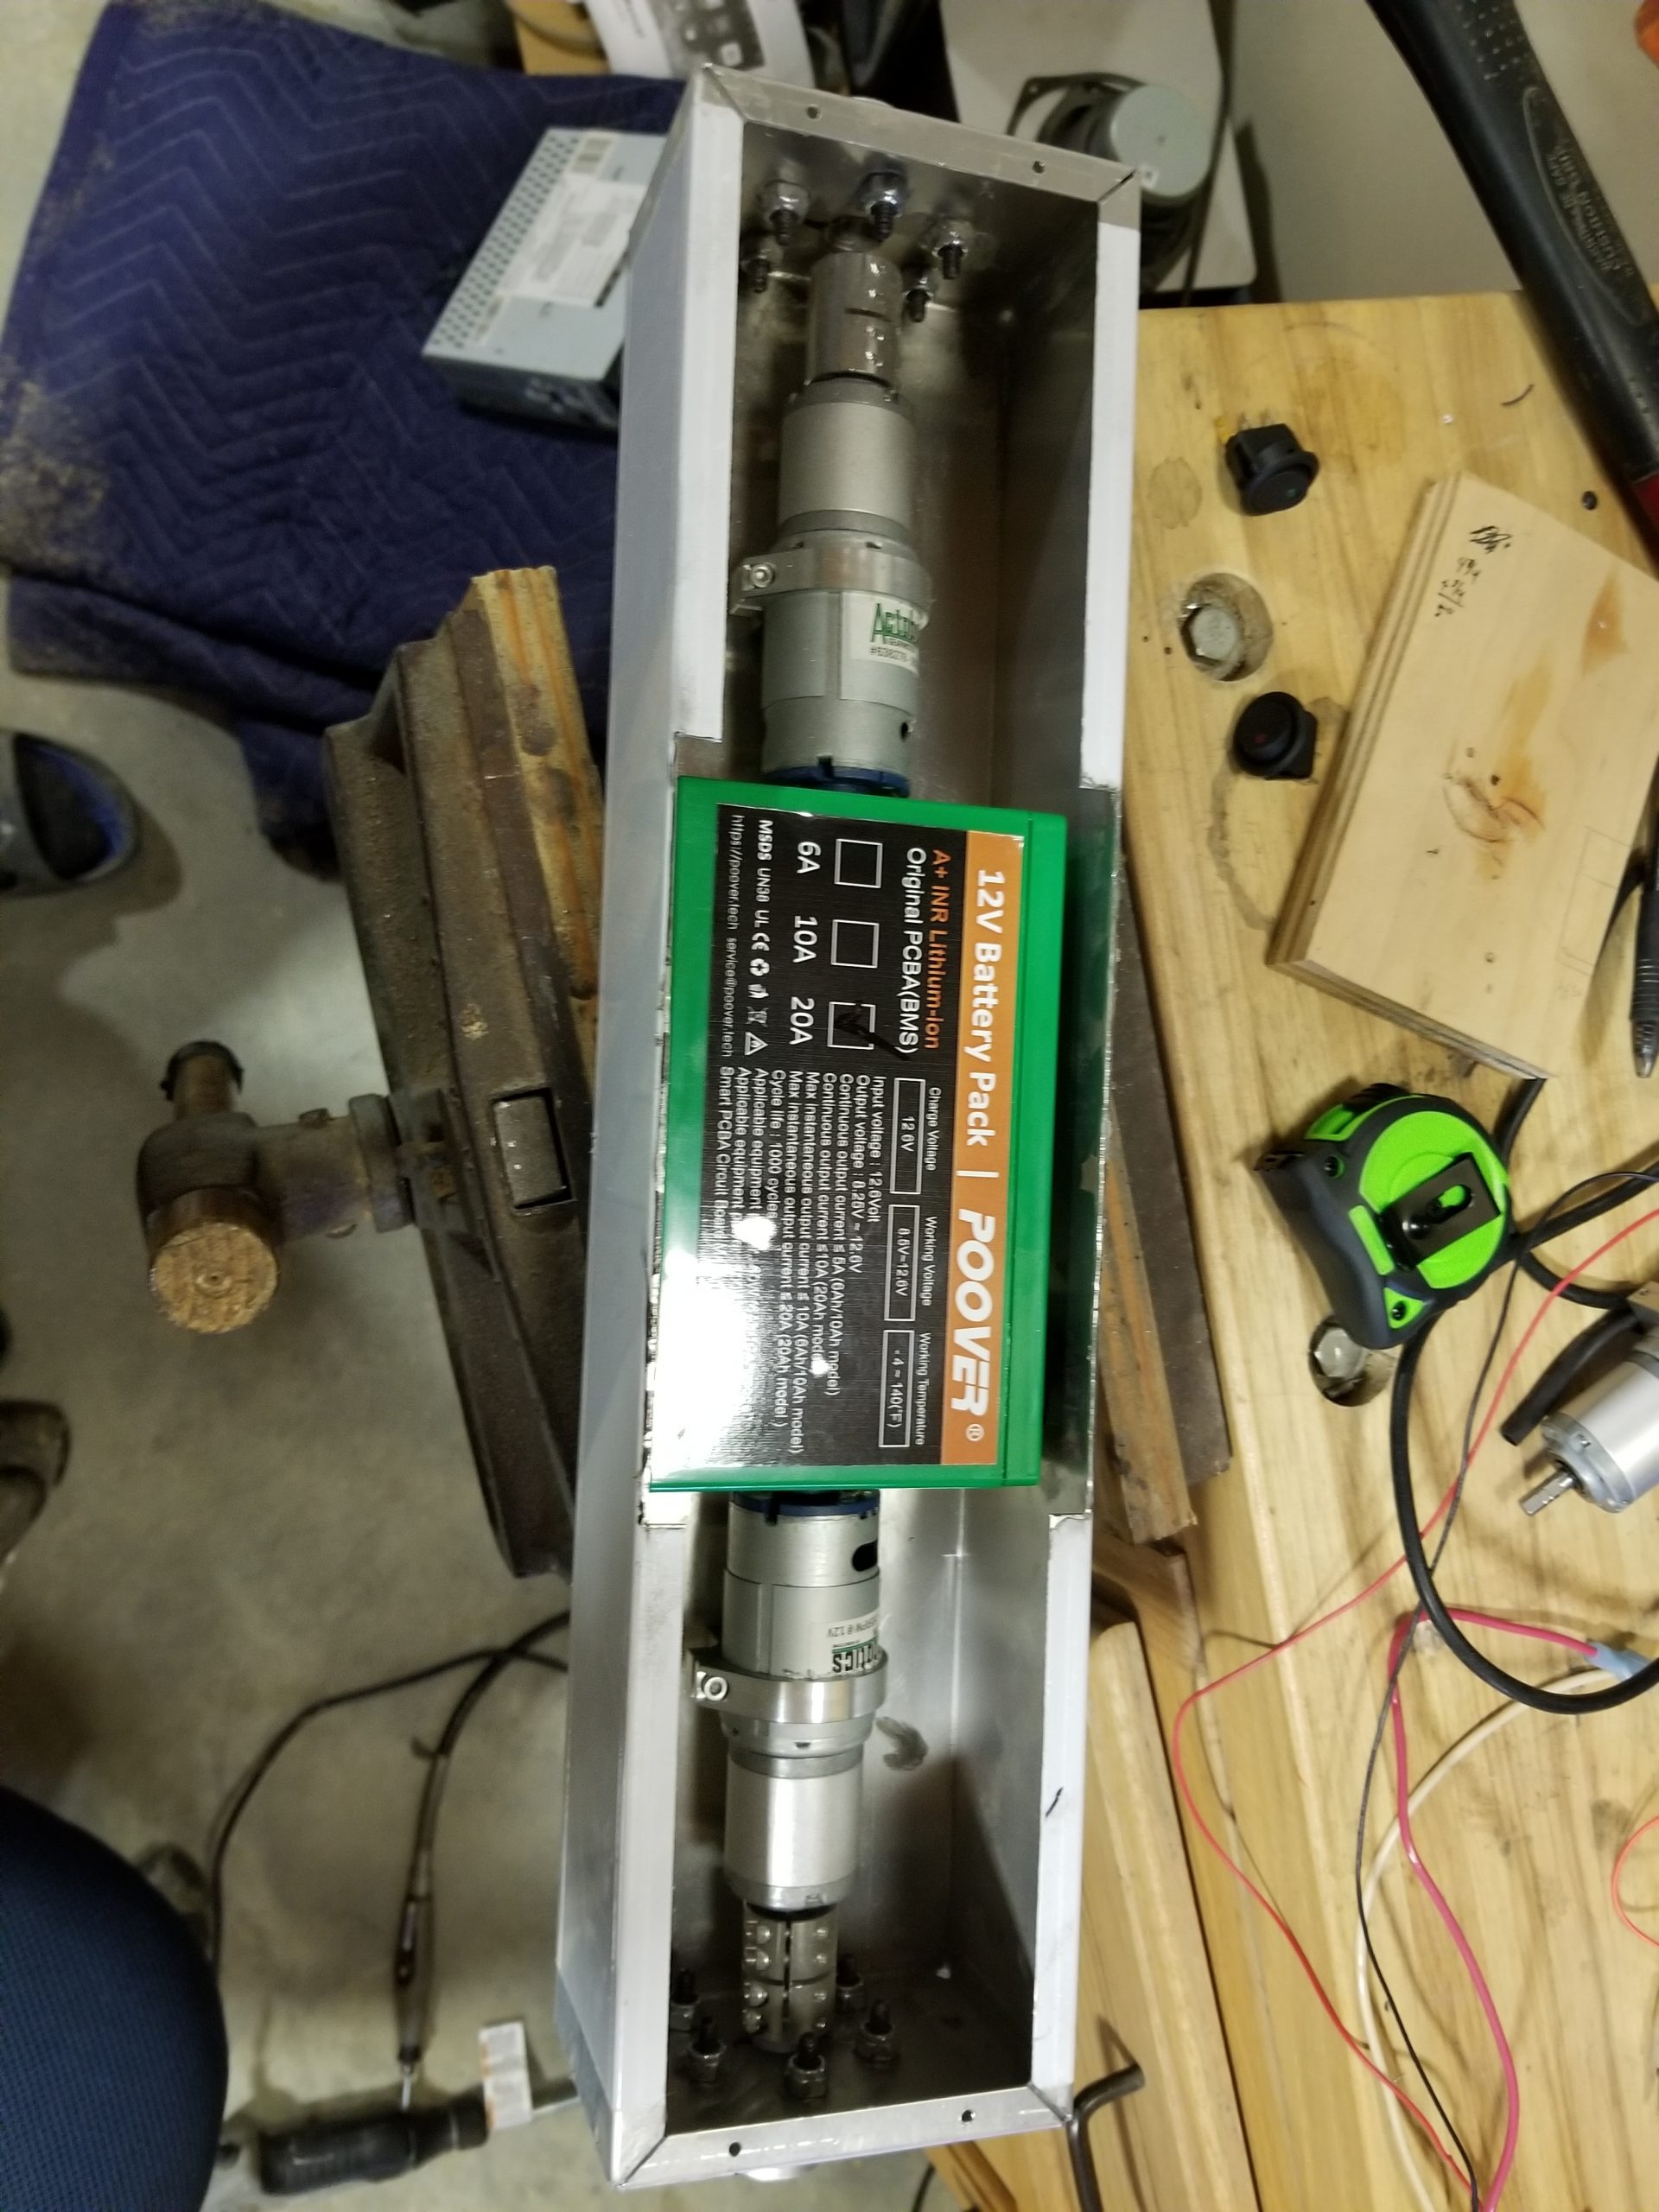
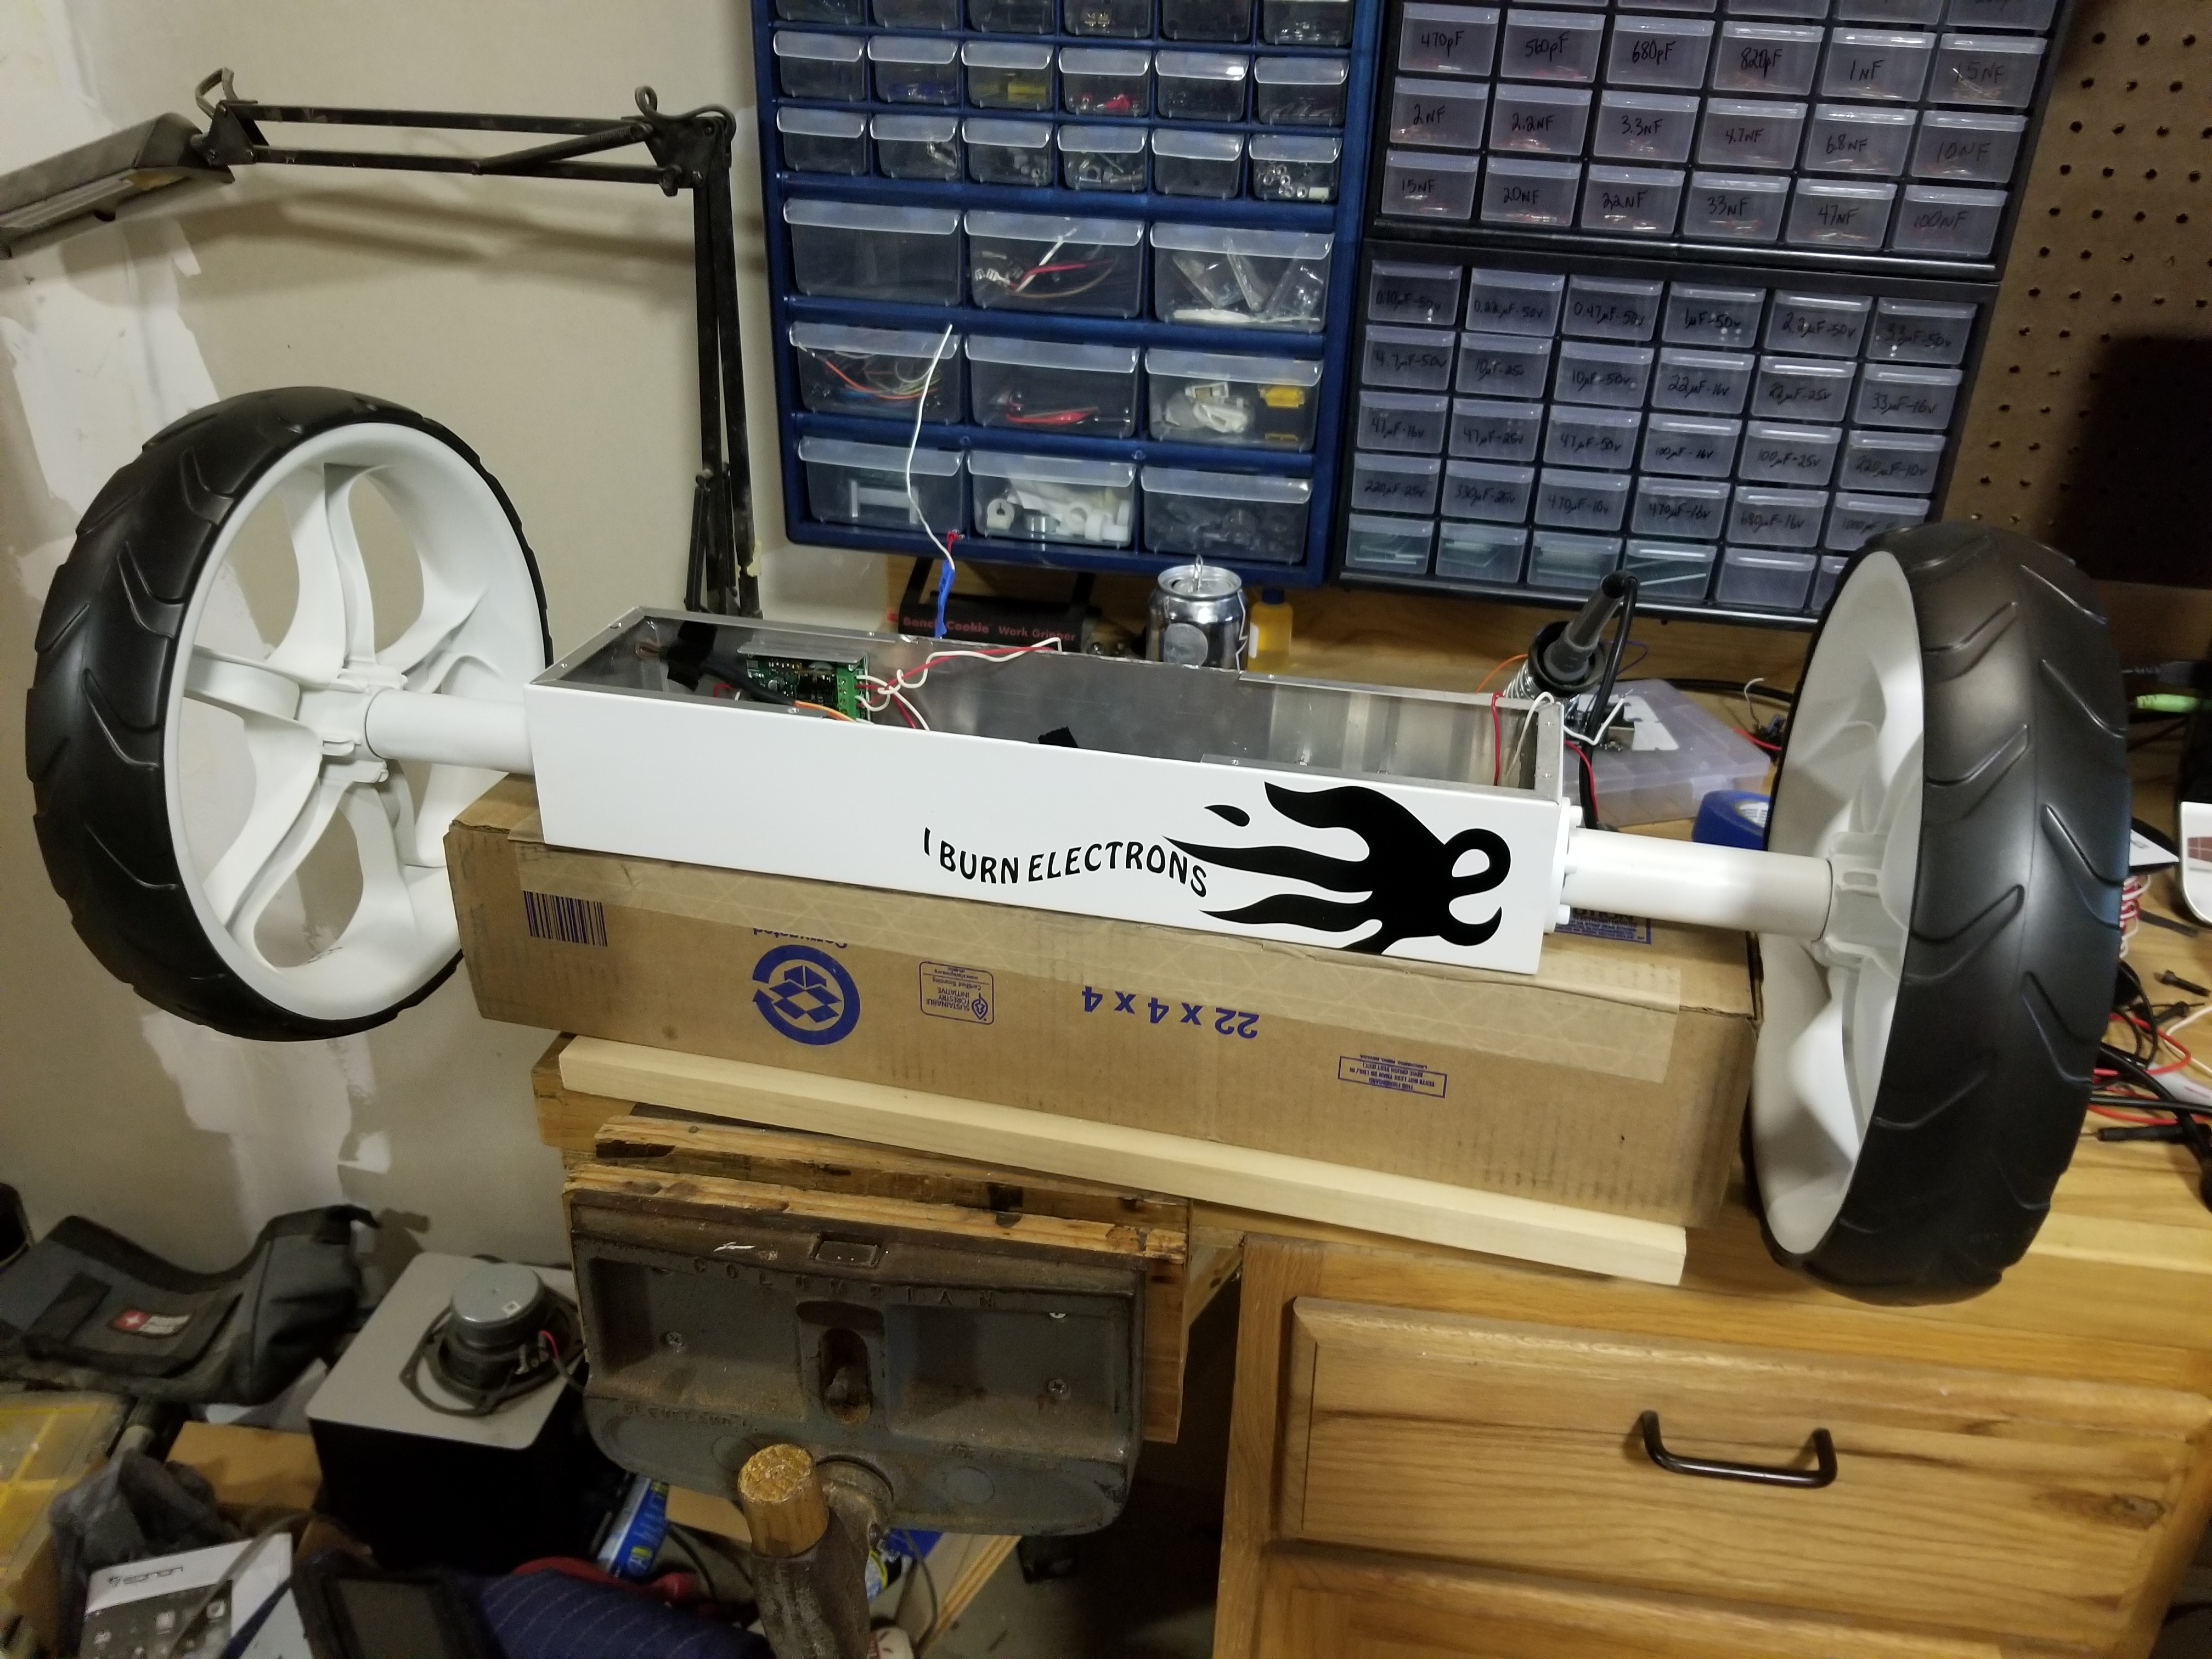
To start, I sourced an aluminum enclosure online. I don't remember where I found it, but it was almost the perfect size and was only around $20. I had several bits and pieces from other robotic builds that I used for this project. Some of those pieces were some aluminum mounting hubs and other aluminum ruff stock. The first step was making some wheel adapters on a metal lathe to fit inside the back wheels and attach to the drive axle. I also turned two extenders that go from the enclosure to the wheels and is where the frame clamps fit.
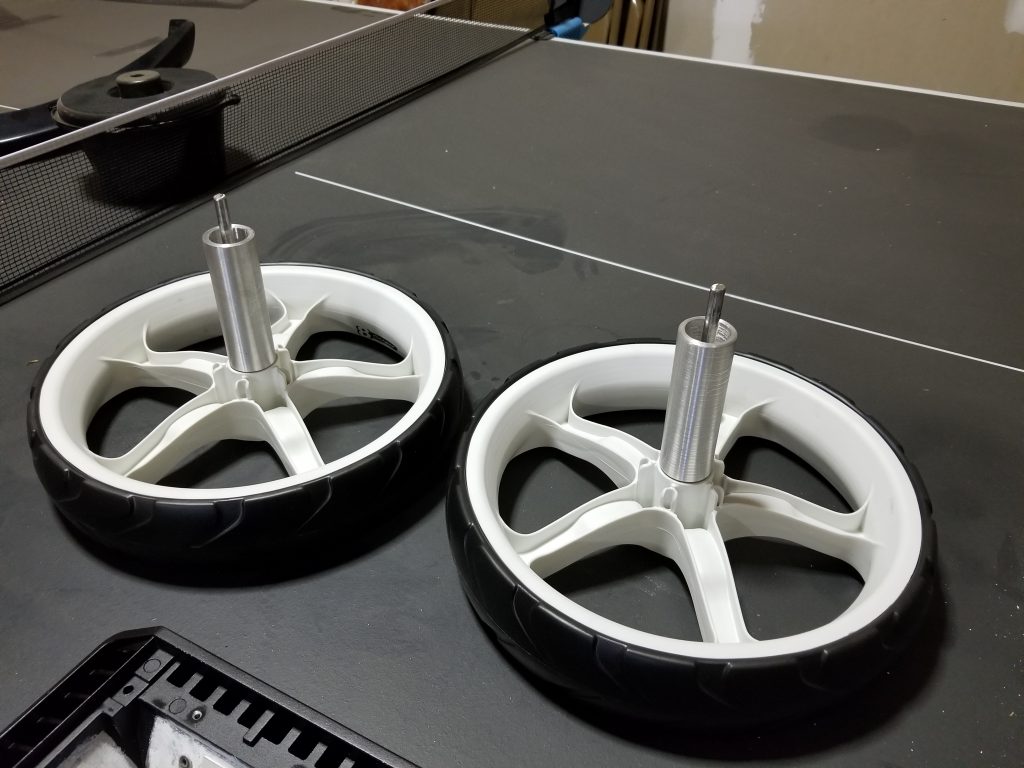
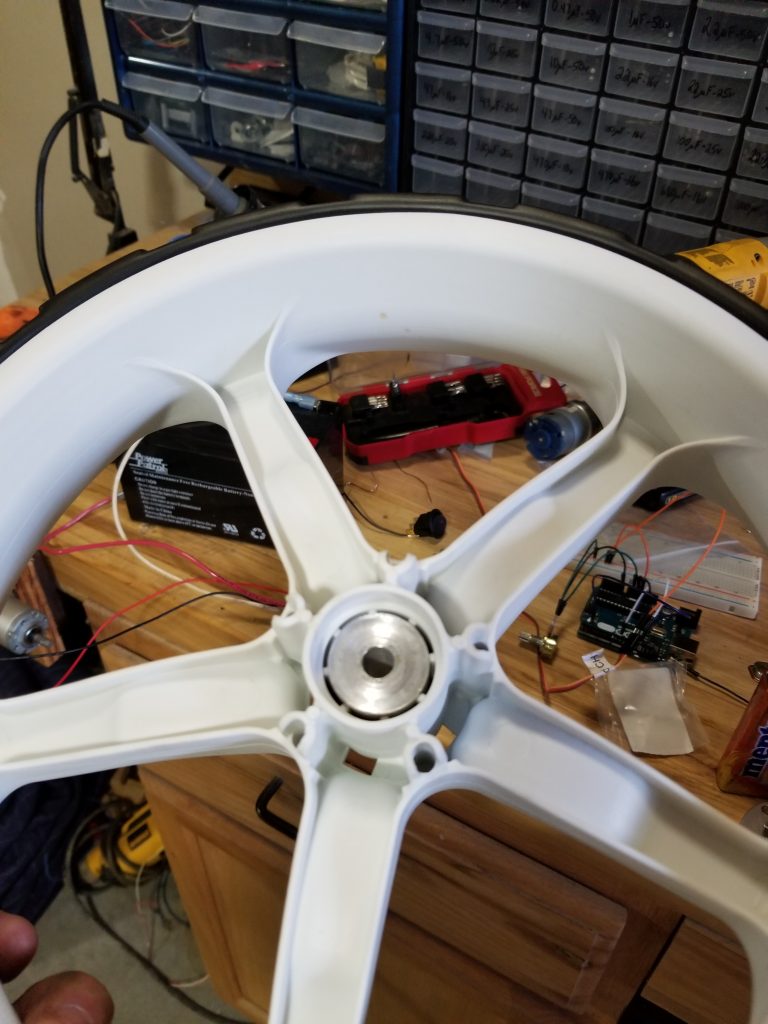
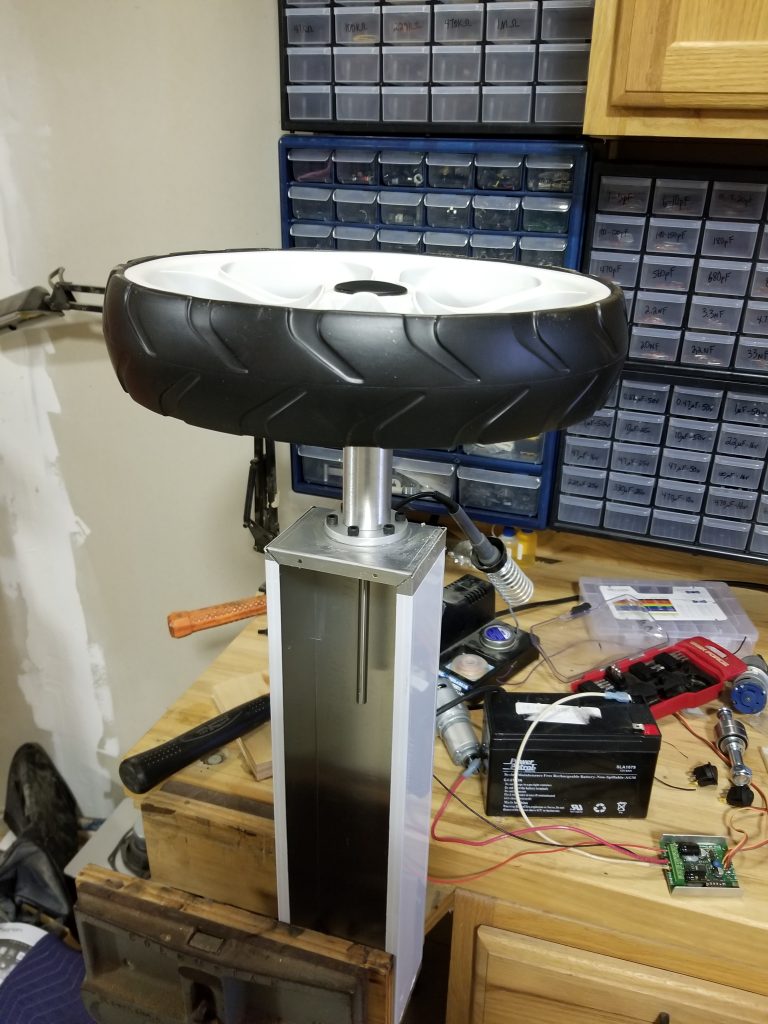
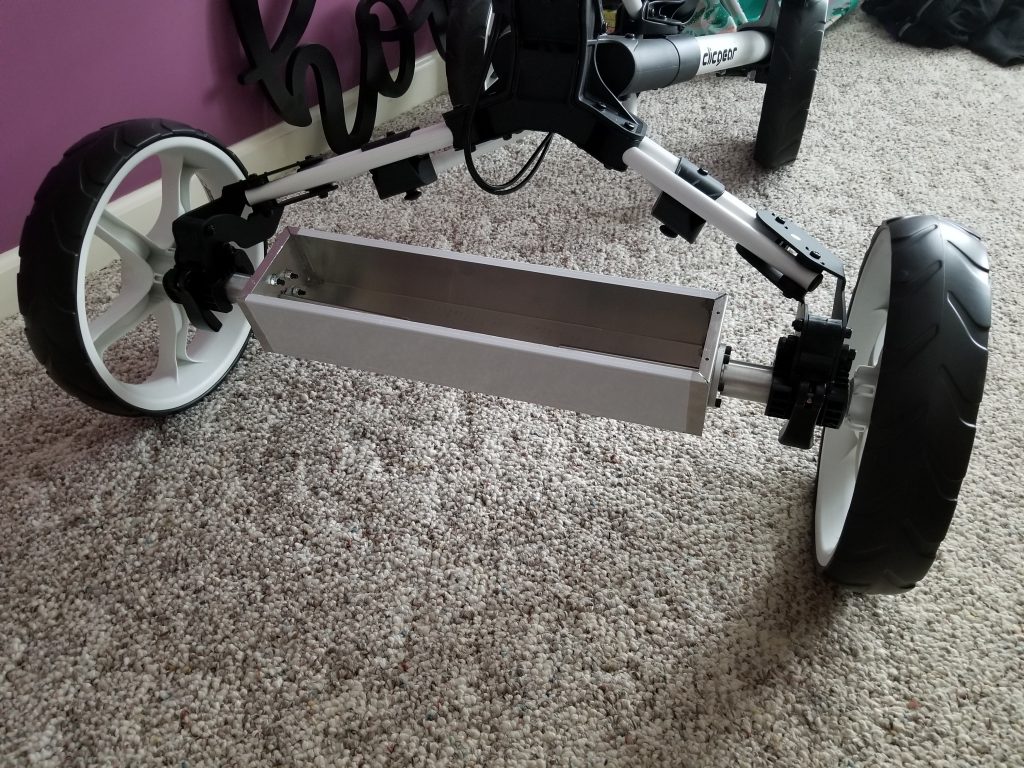
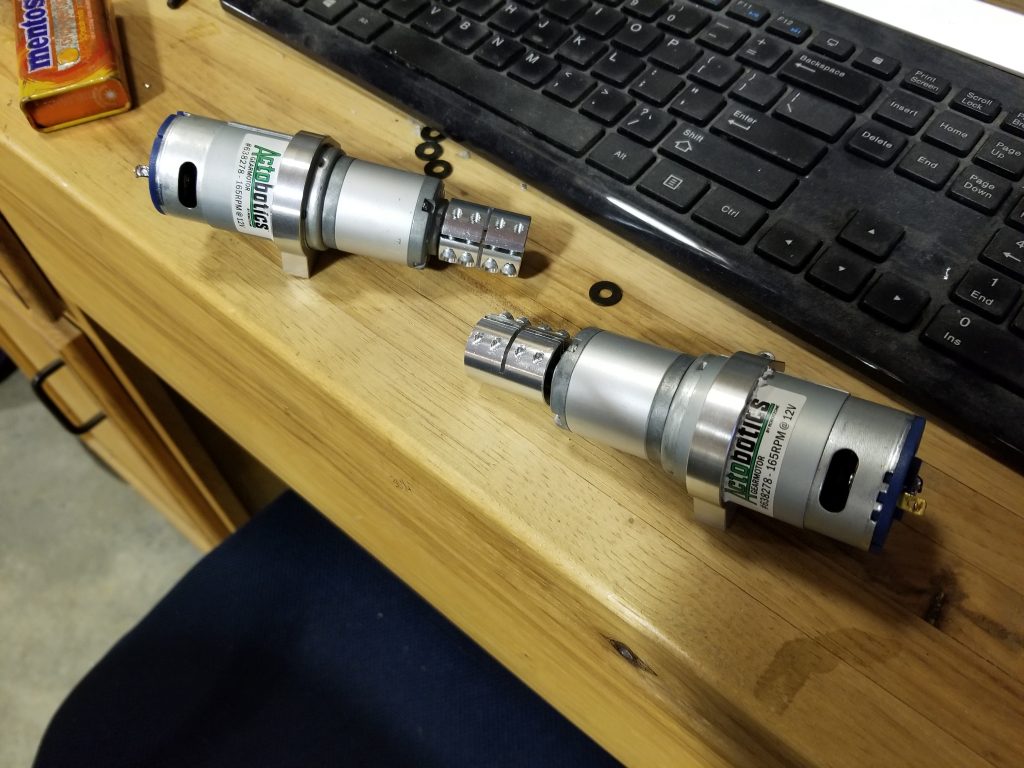
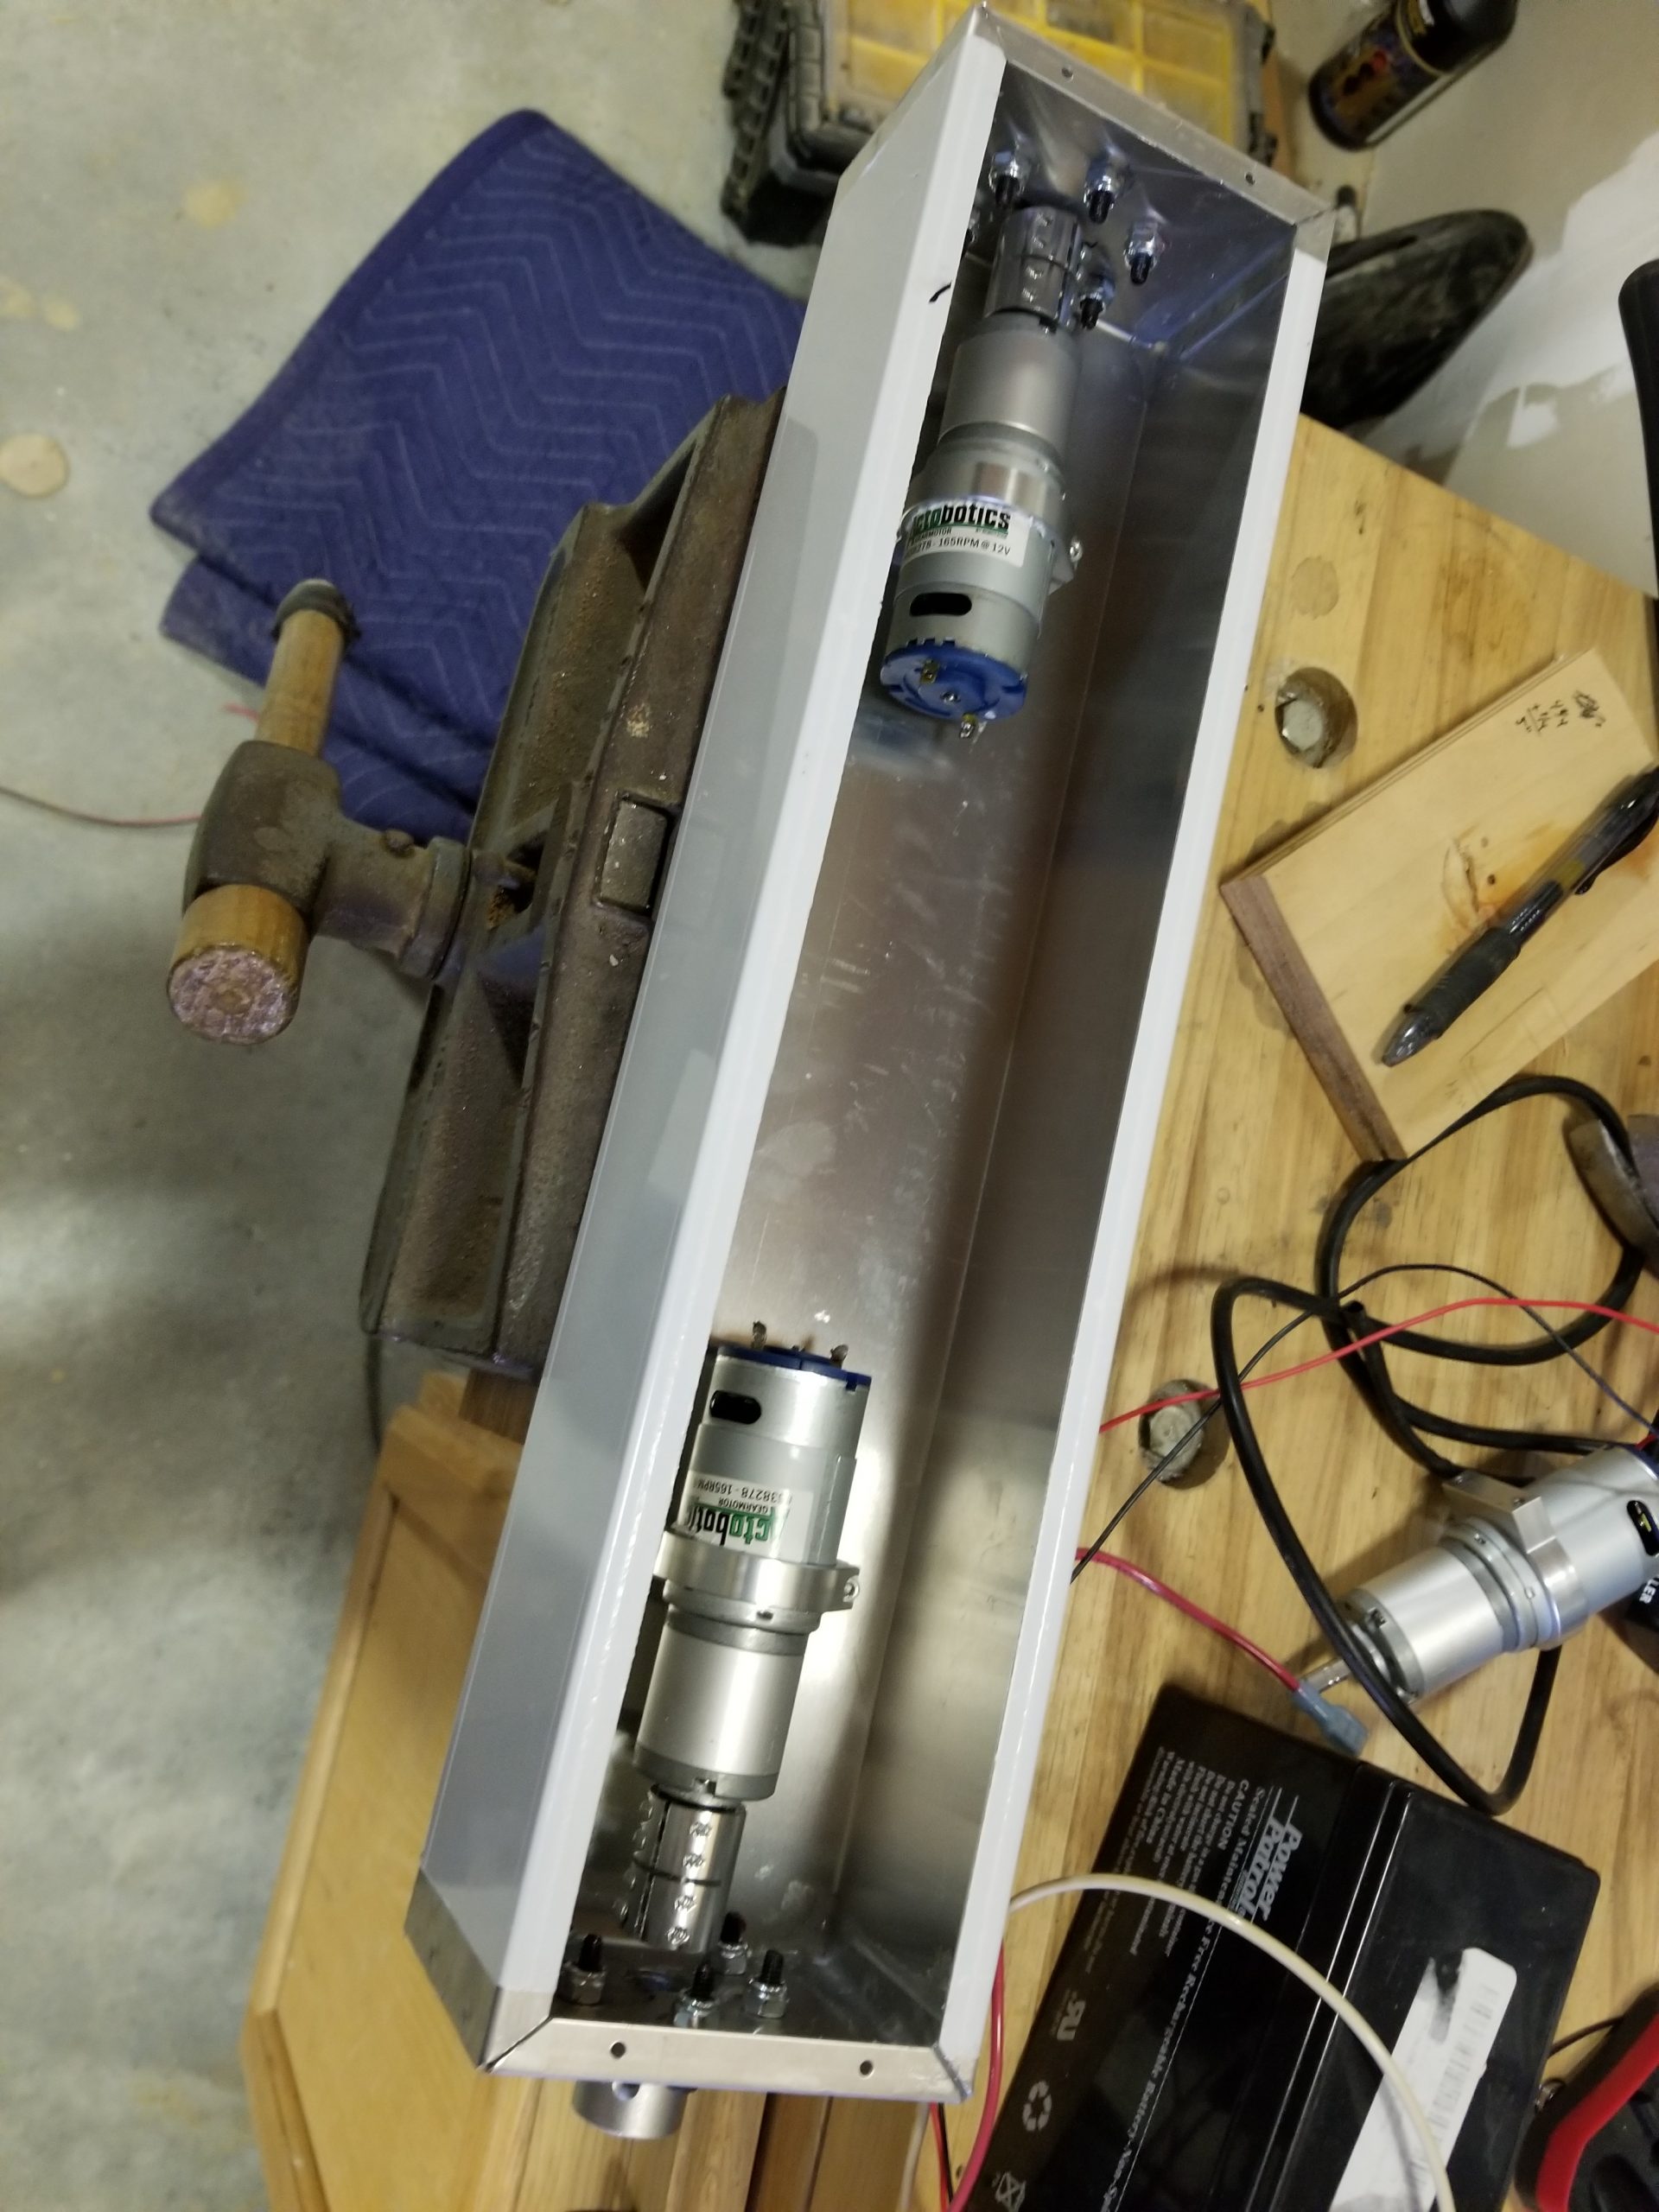
With the adapters fitting snugly inside the wheels and the extenders attached, I clamped the unit in place for a test fit...Perfect! Now that the shell was sorted out, I sourced two motors I had from another project which used planetary gear boxes and had lots of torque. With those fitted and mounted in the enclosure, I paired them up with a Sabertooth 2x12RC motor controller. Not only can the Sabertooth MC handle the current needs, but it offers regenerative charging. This means that when the cart is slowing down the battery is being charged. Since the motors are permanent magnet DC motors, they can act as generators when they are turned by physical force. I.E. They are the drivee not the driver 😉 This is really cool because if I'm out on the course and the batteries are running low, I can actually charge them by pushing the cart! Neato!

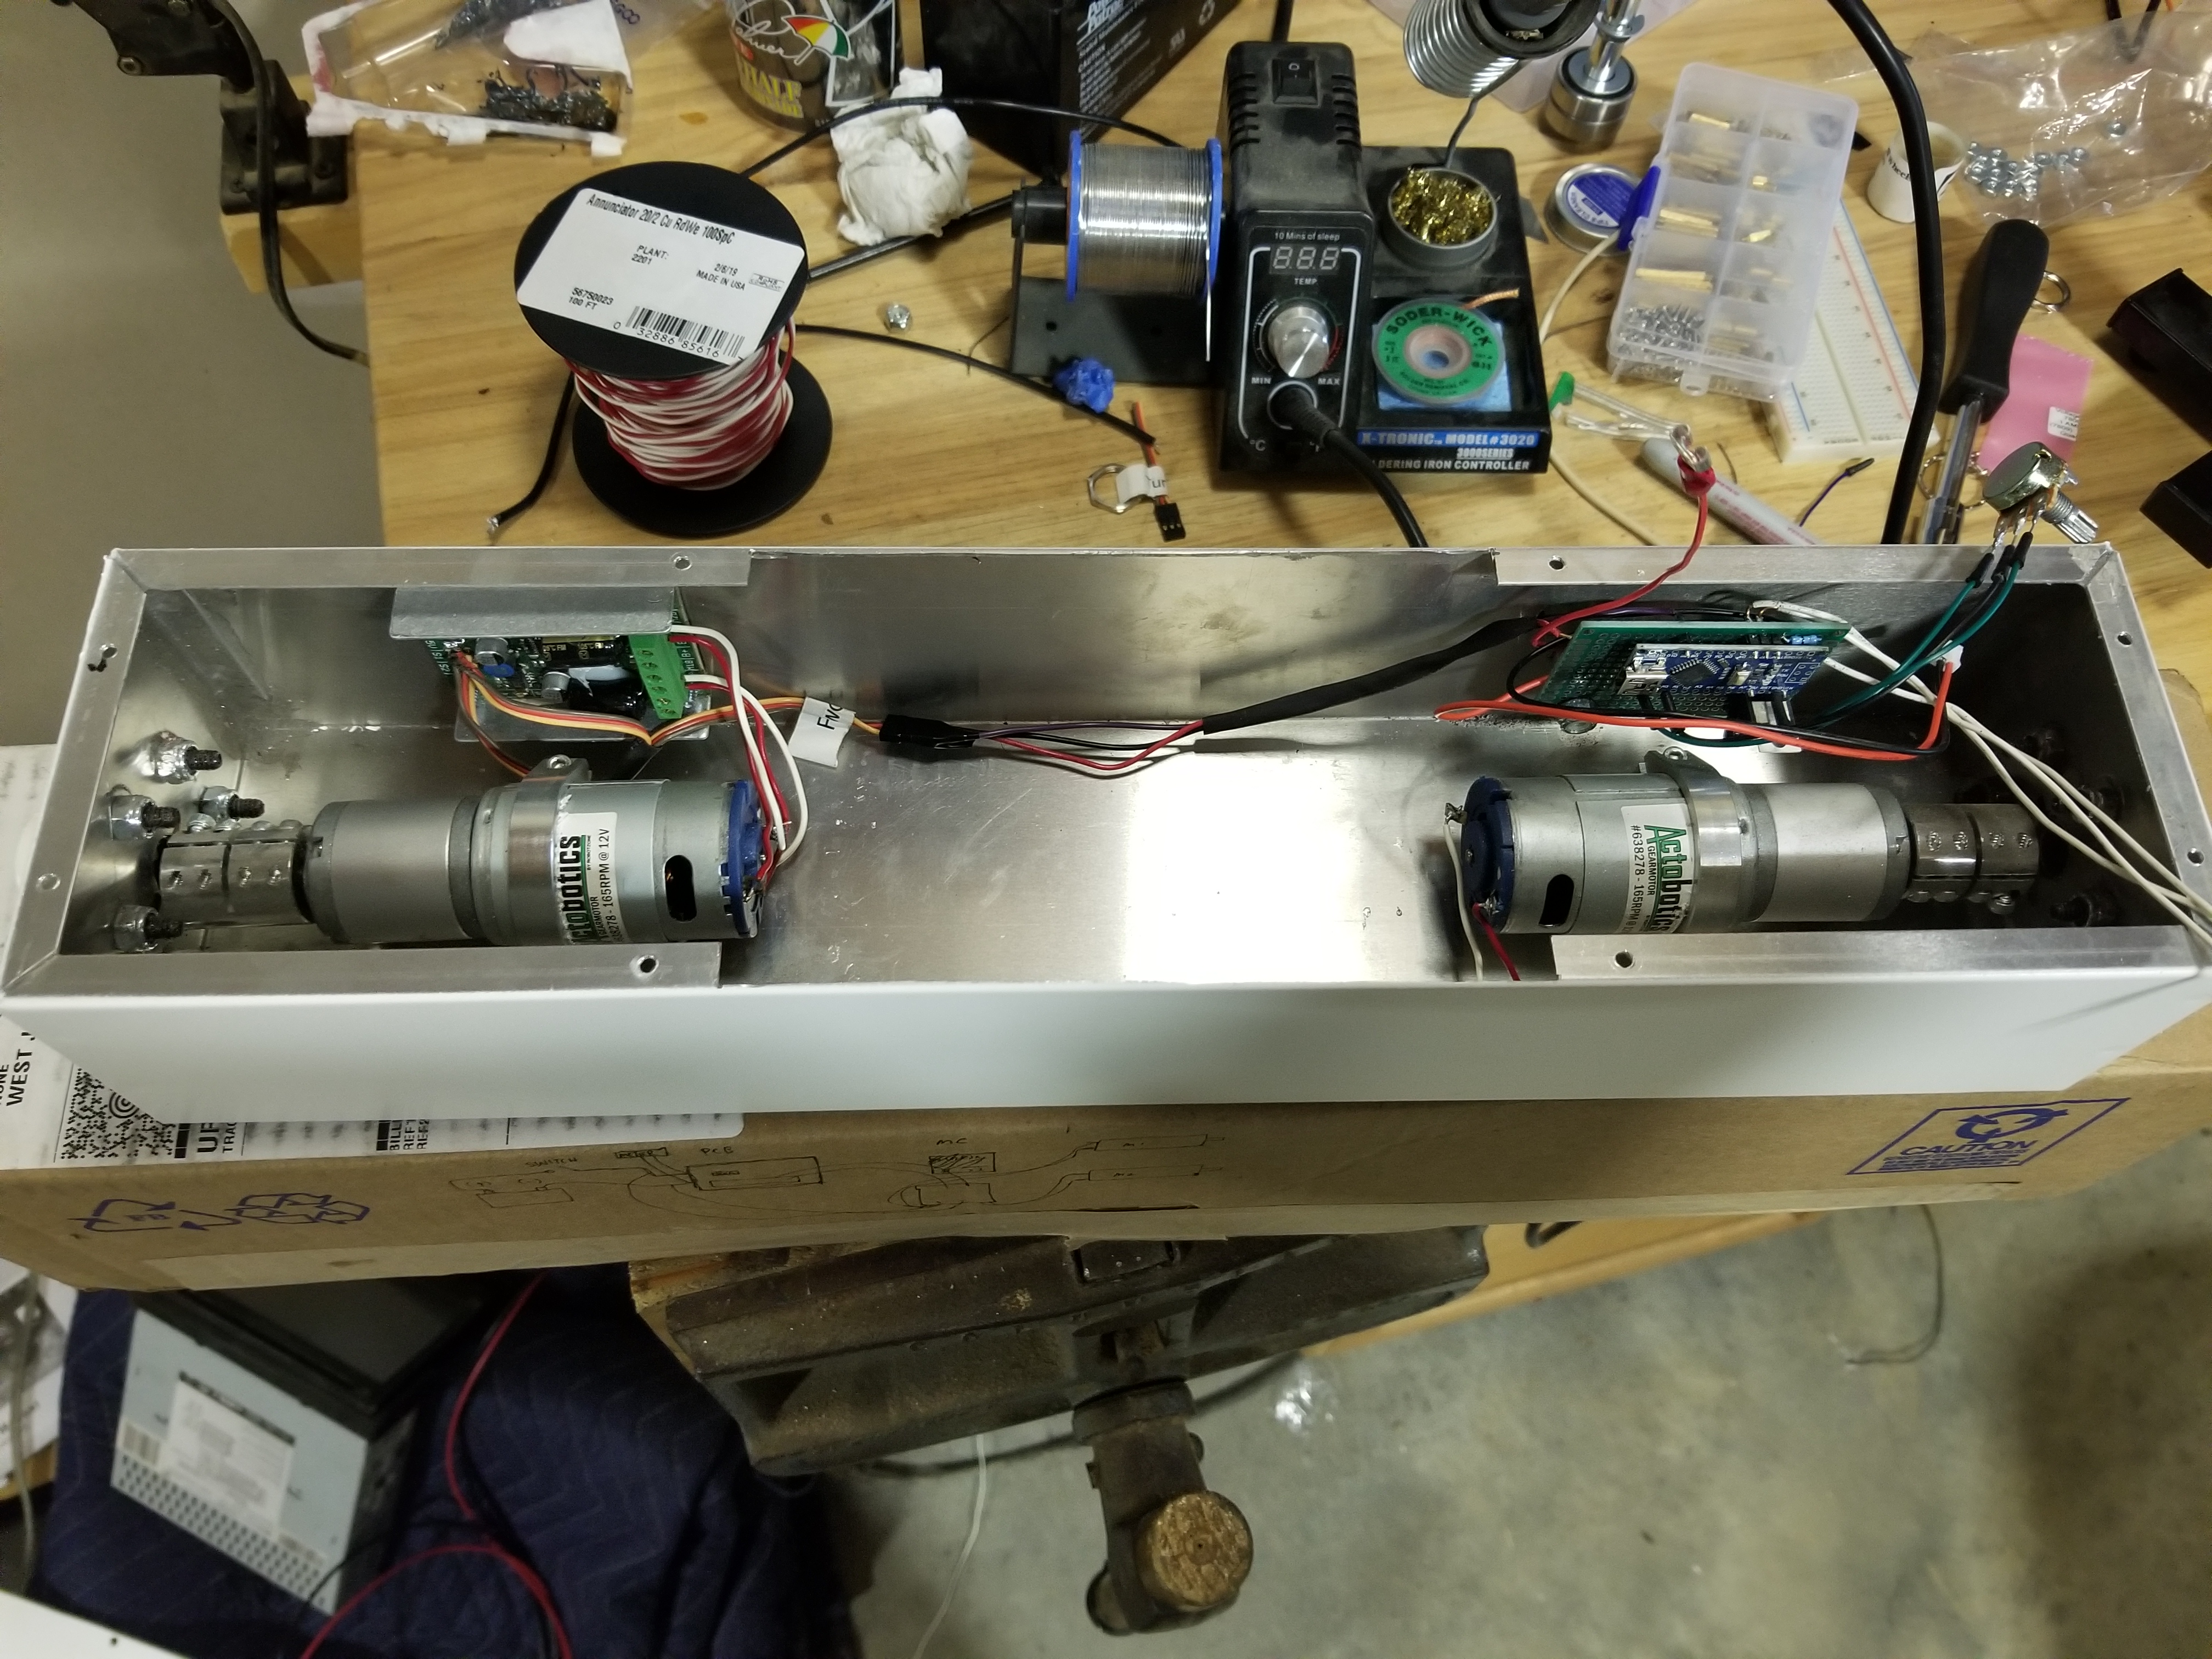
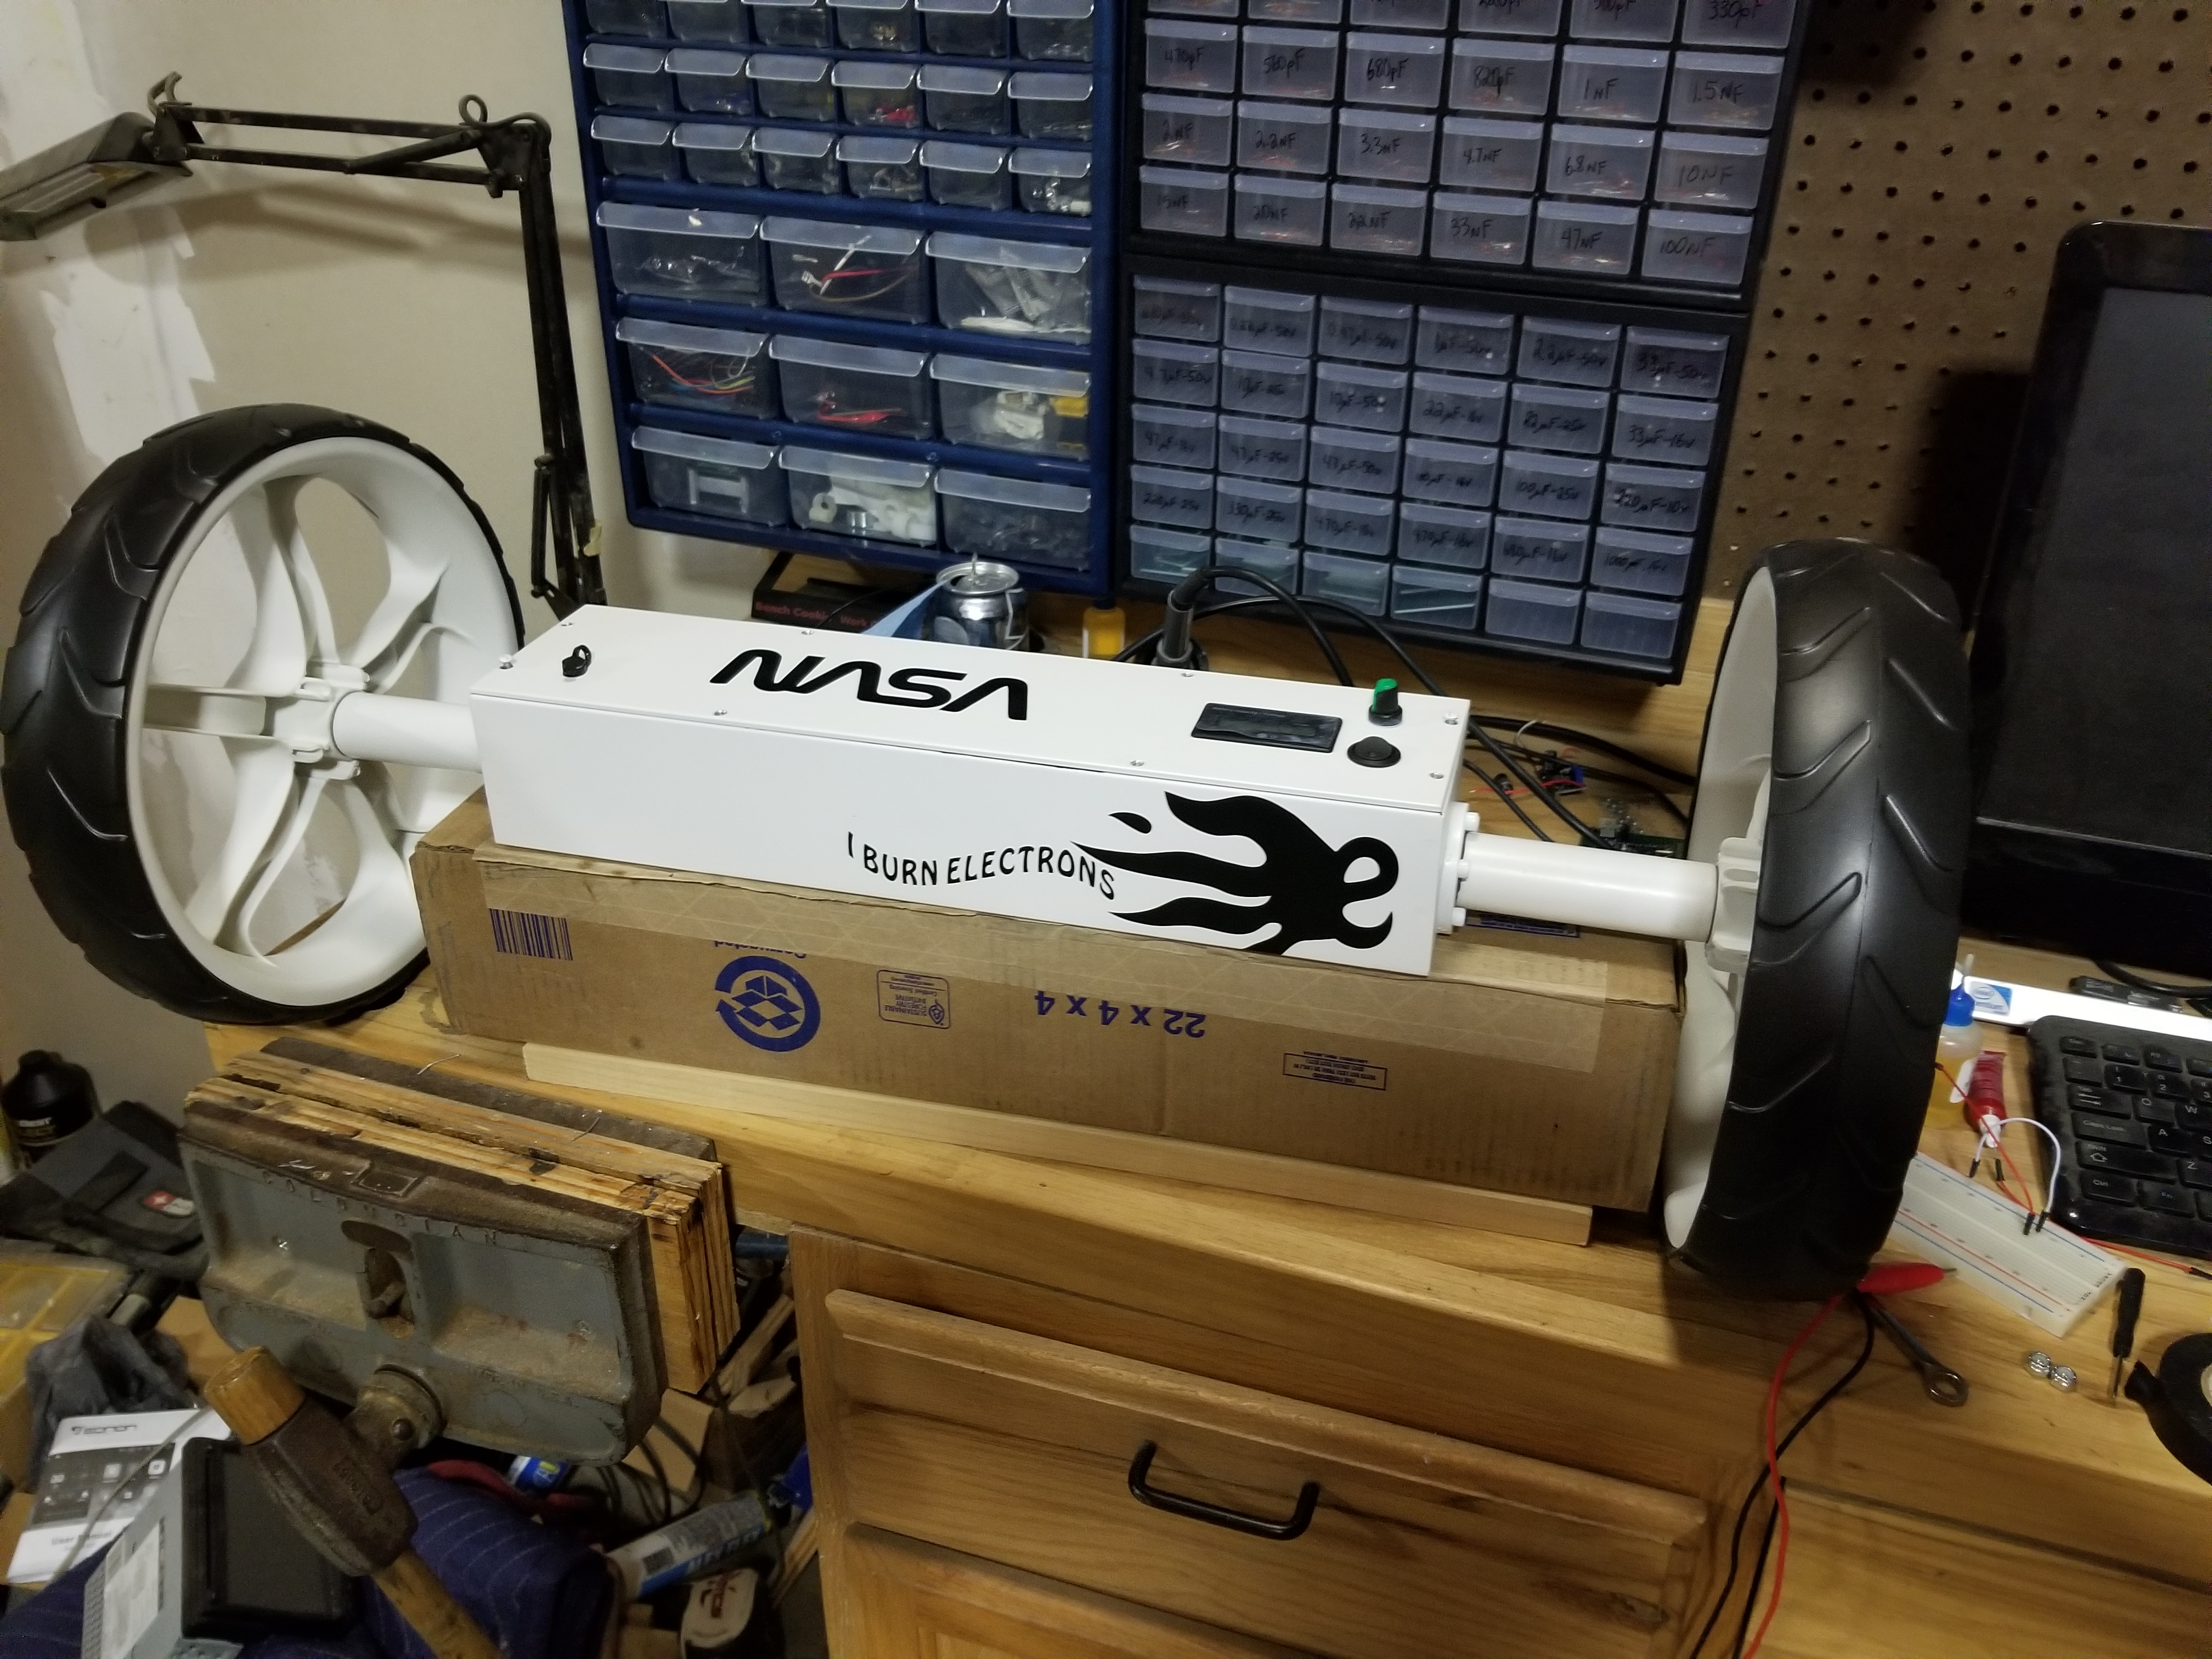
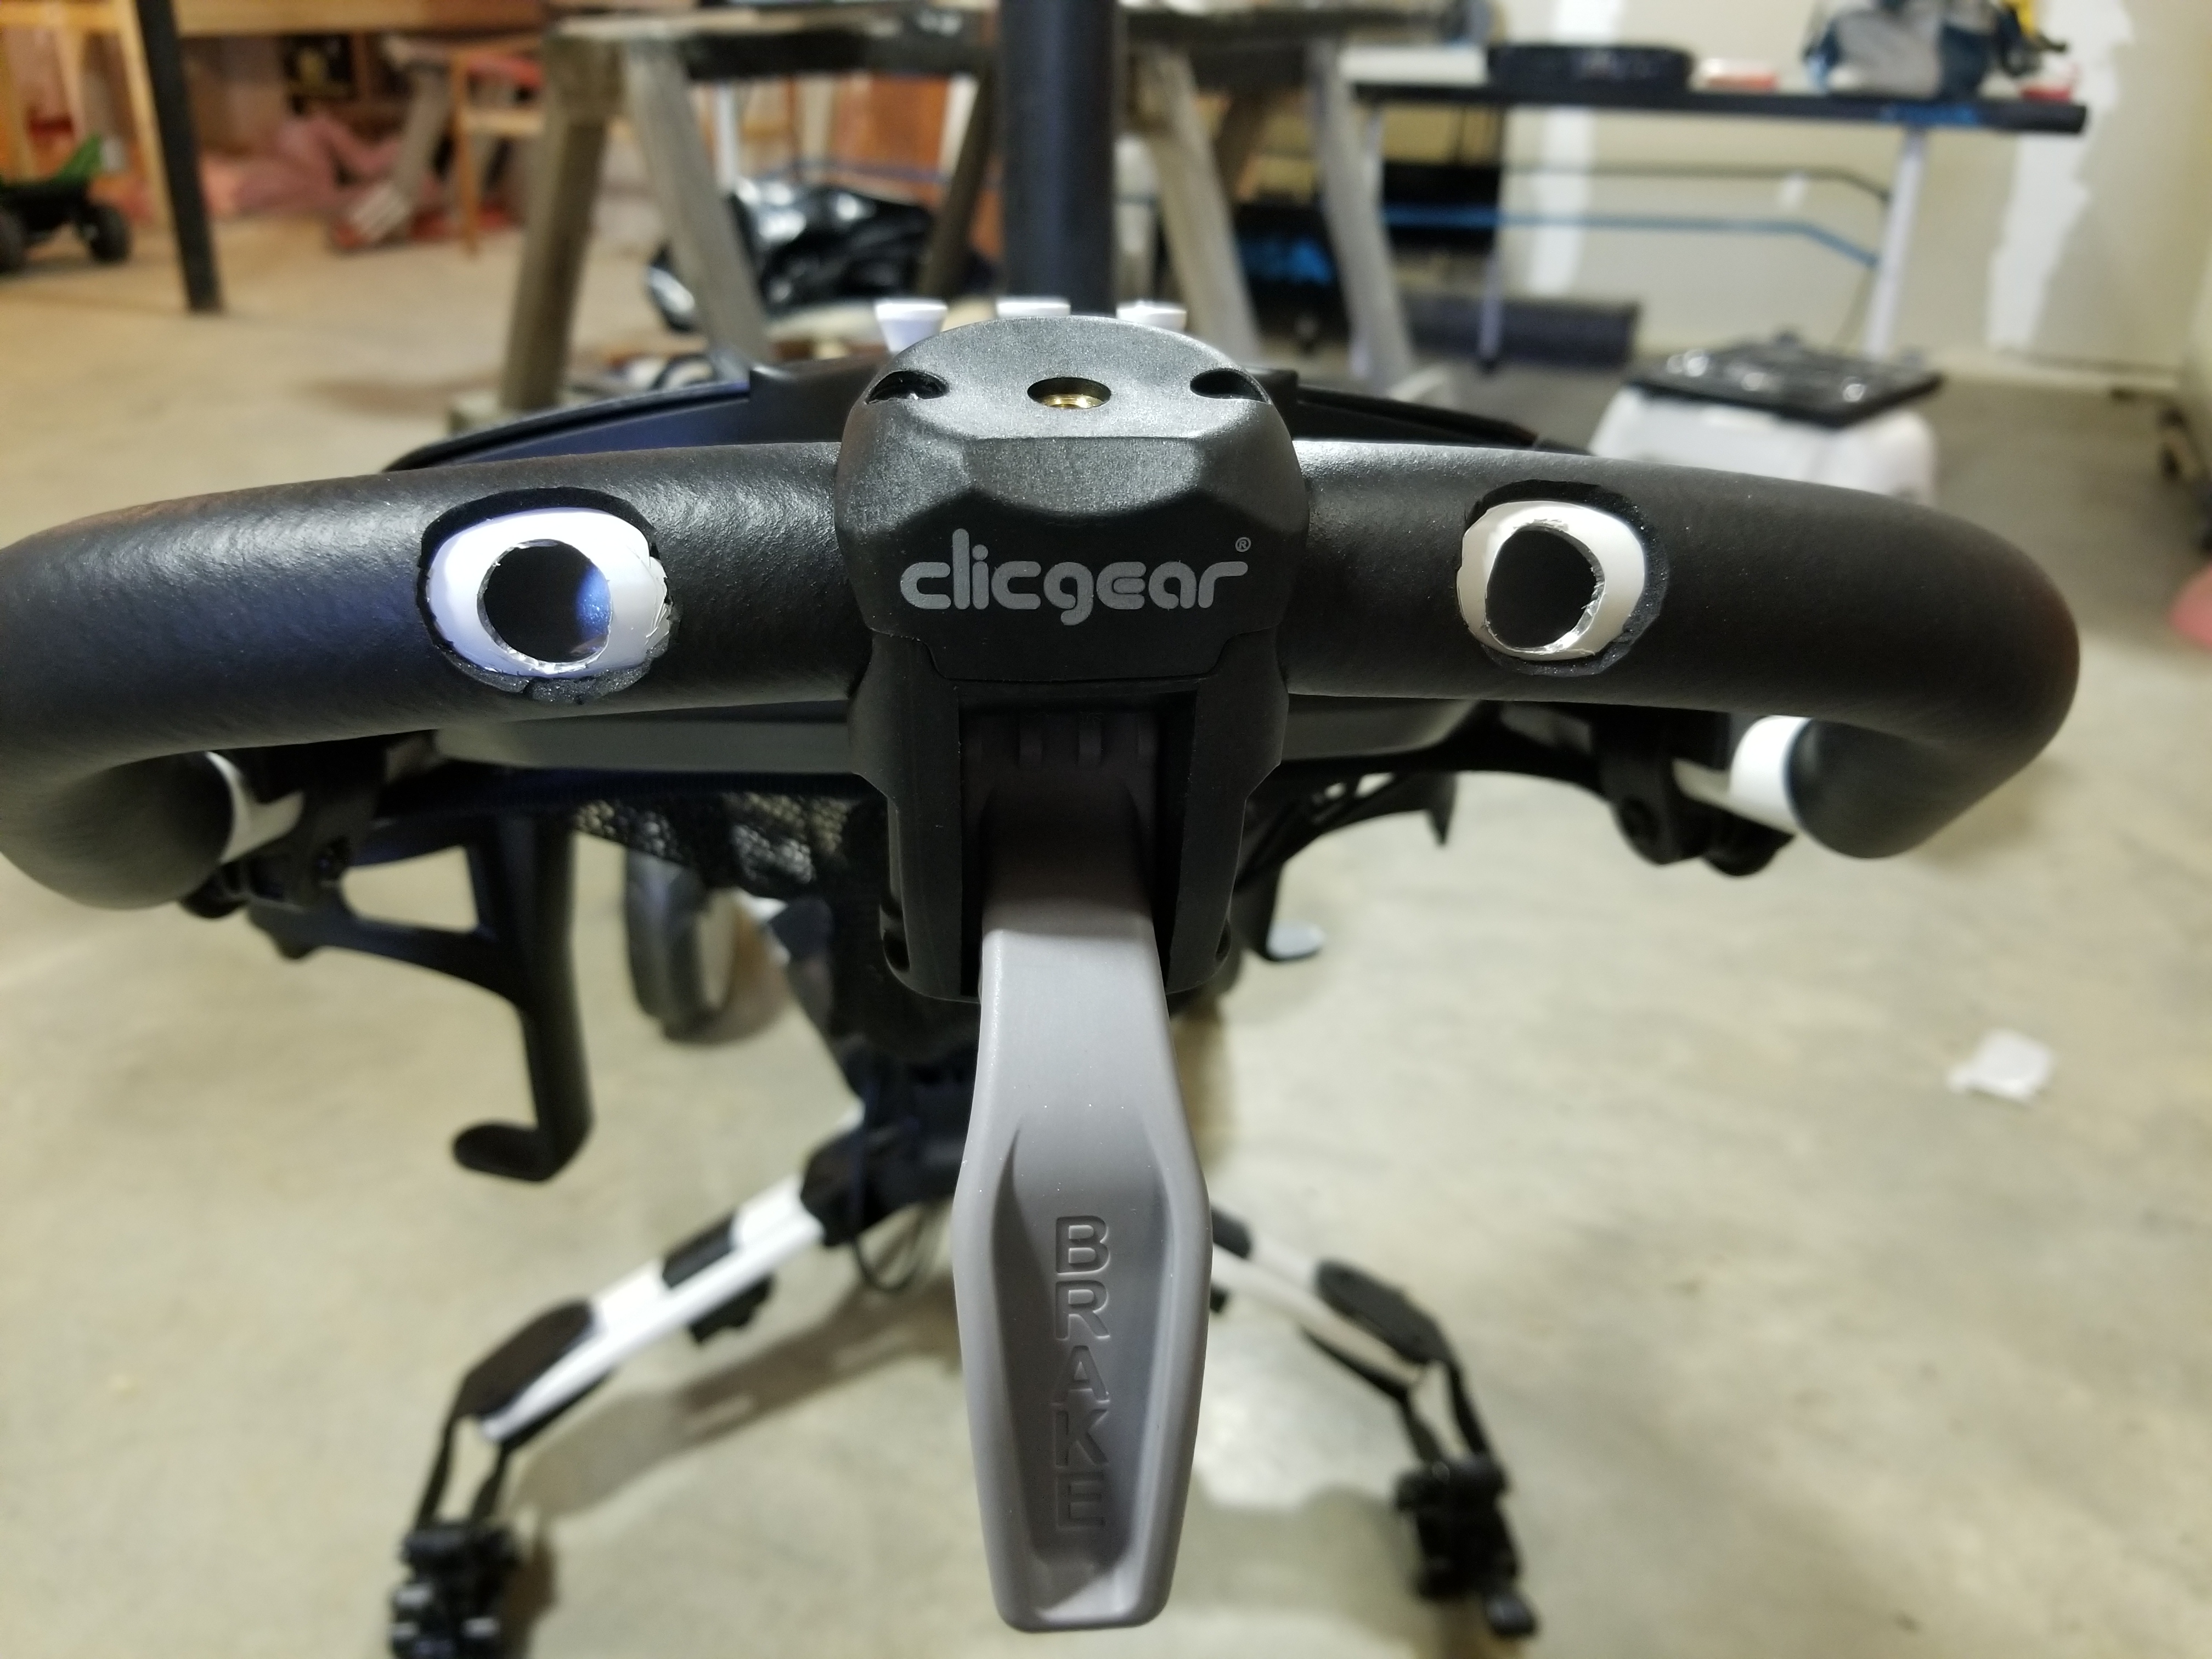
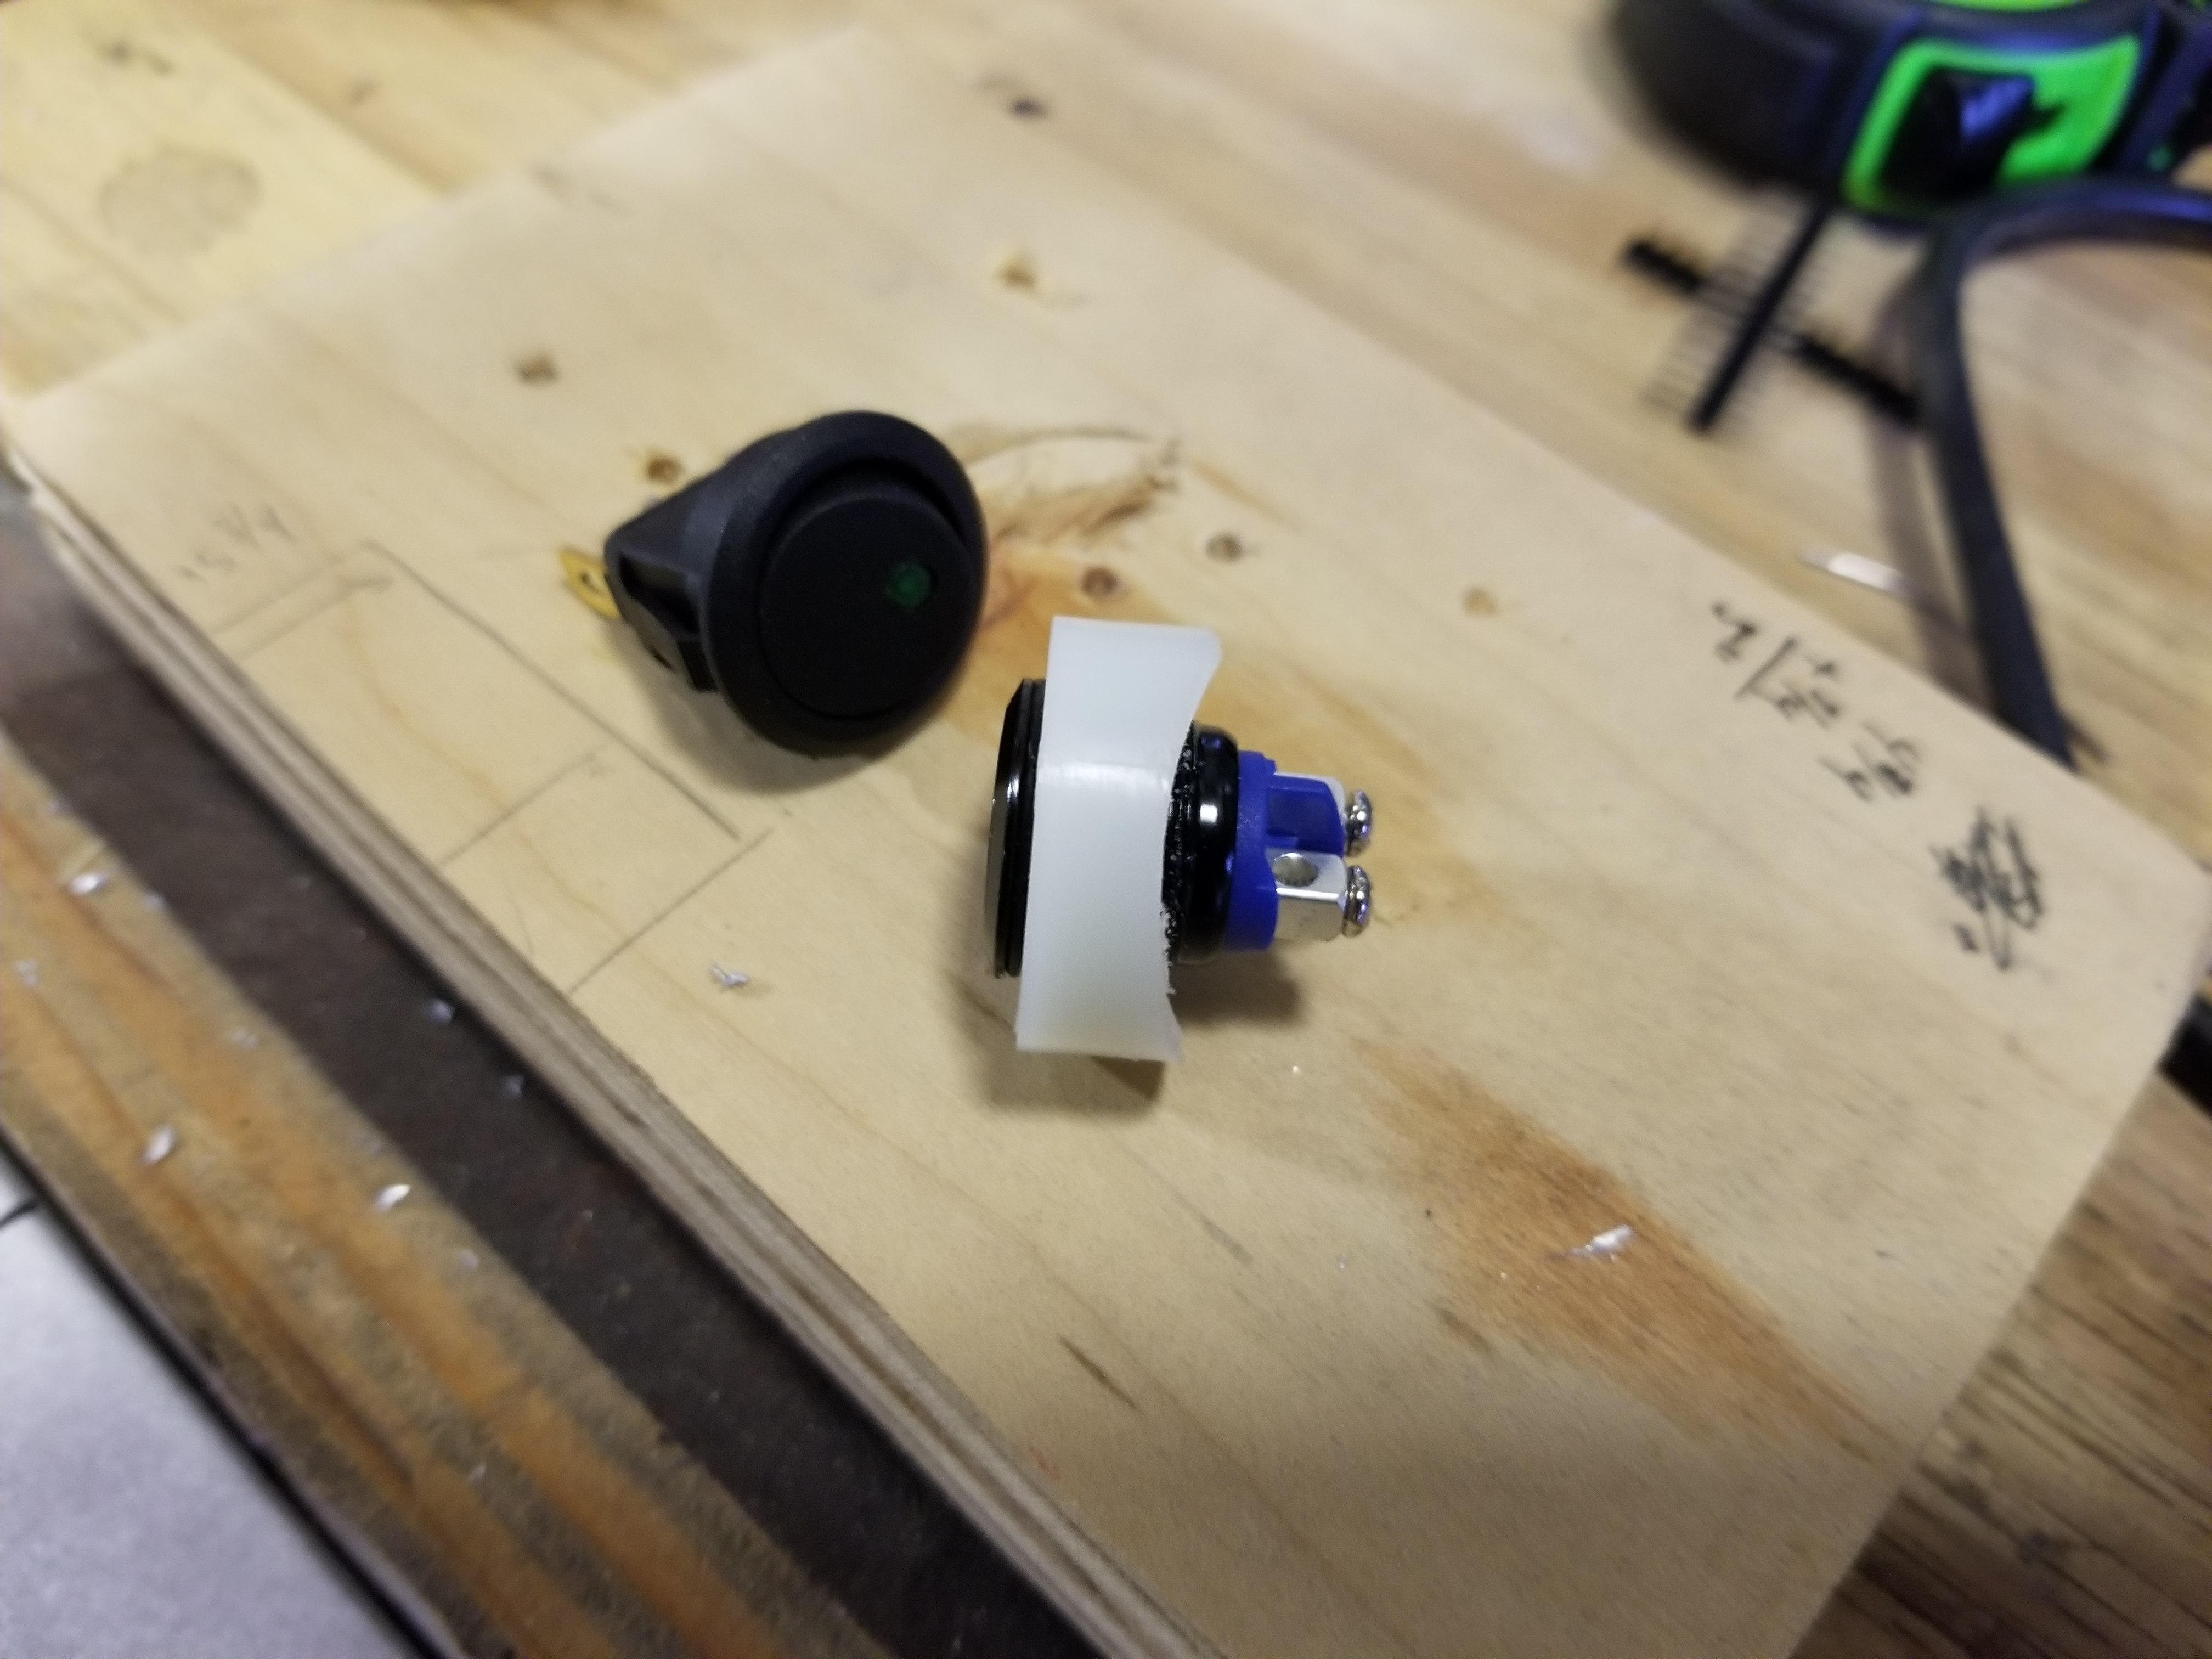
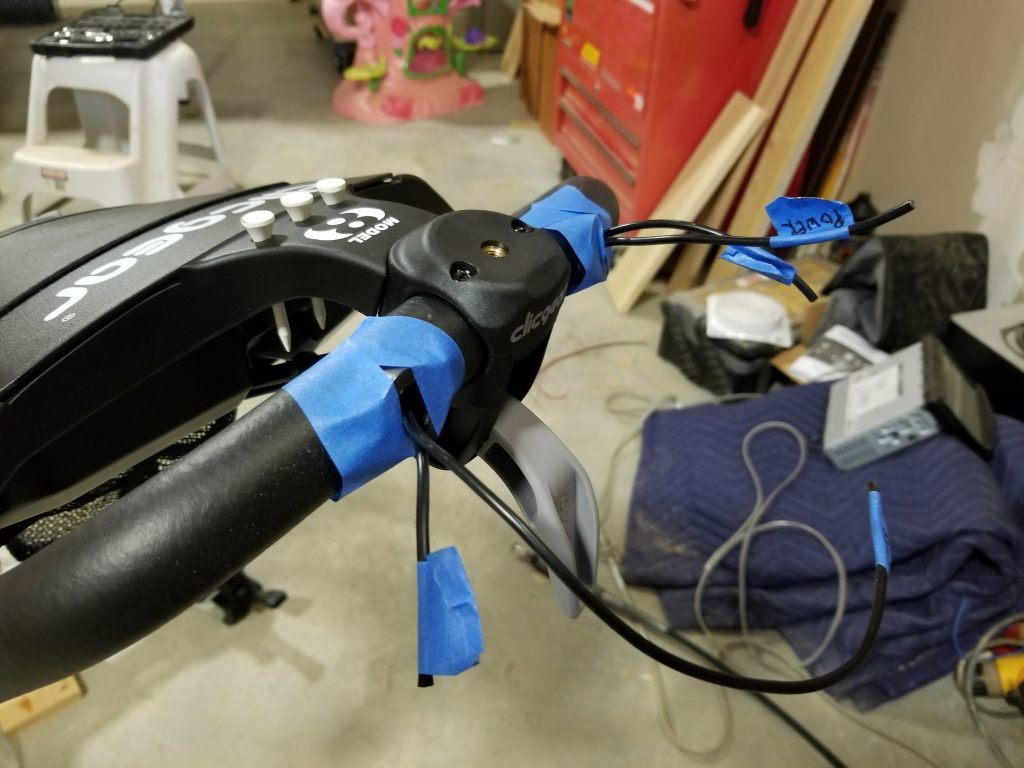
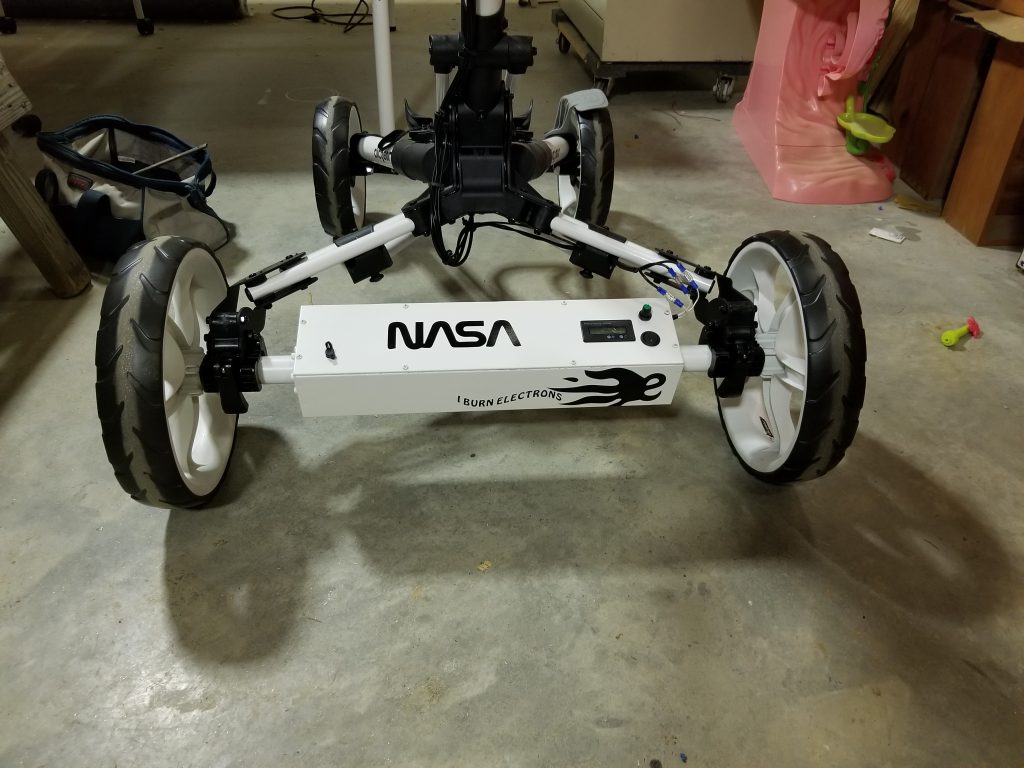

Next came the wiring and mounting for the control buttons. The left button drives the cart in reverse, with the right driving the cart forwards. Why do I need a reverse, because why not? A battery voltage IC and LCD displays my current battery status. When the switch is off, all of the electronics are isolated from the barrel plug and battery. This allows for easy and safe charging. A 5k potentiometer is used to control the cart speed. The pot is wired to the microcontroller's 3.3v pin and ground with the center wire attached to an analog pin configured as input. Adjusting the pot changes the voltage seen by this pin. This analog value gets mapped to a 0-255 value which is then used for the controlling PWM signal.
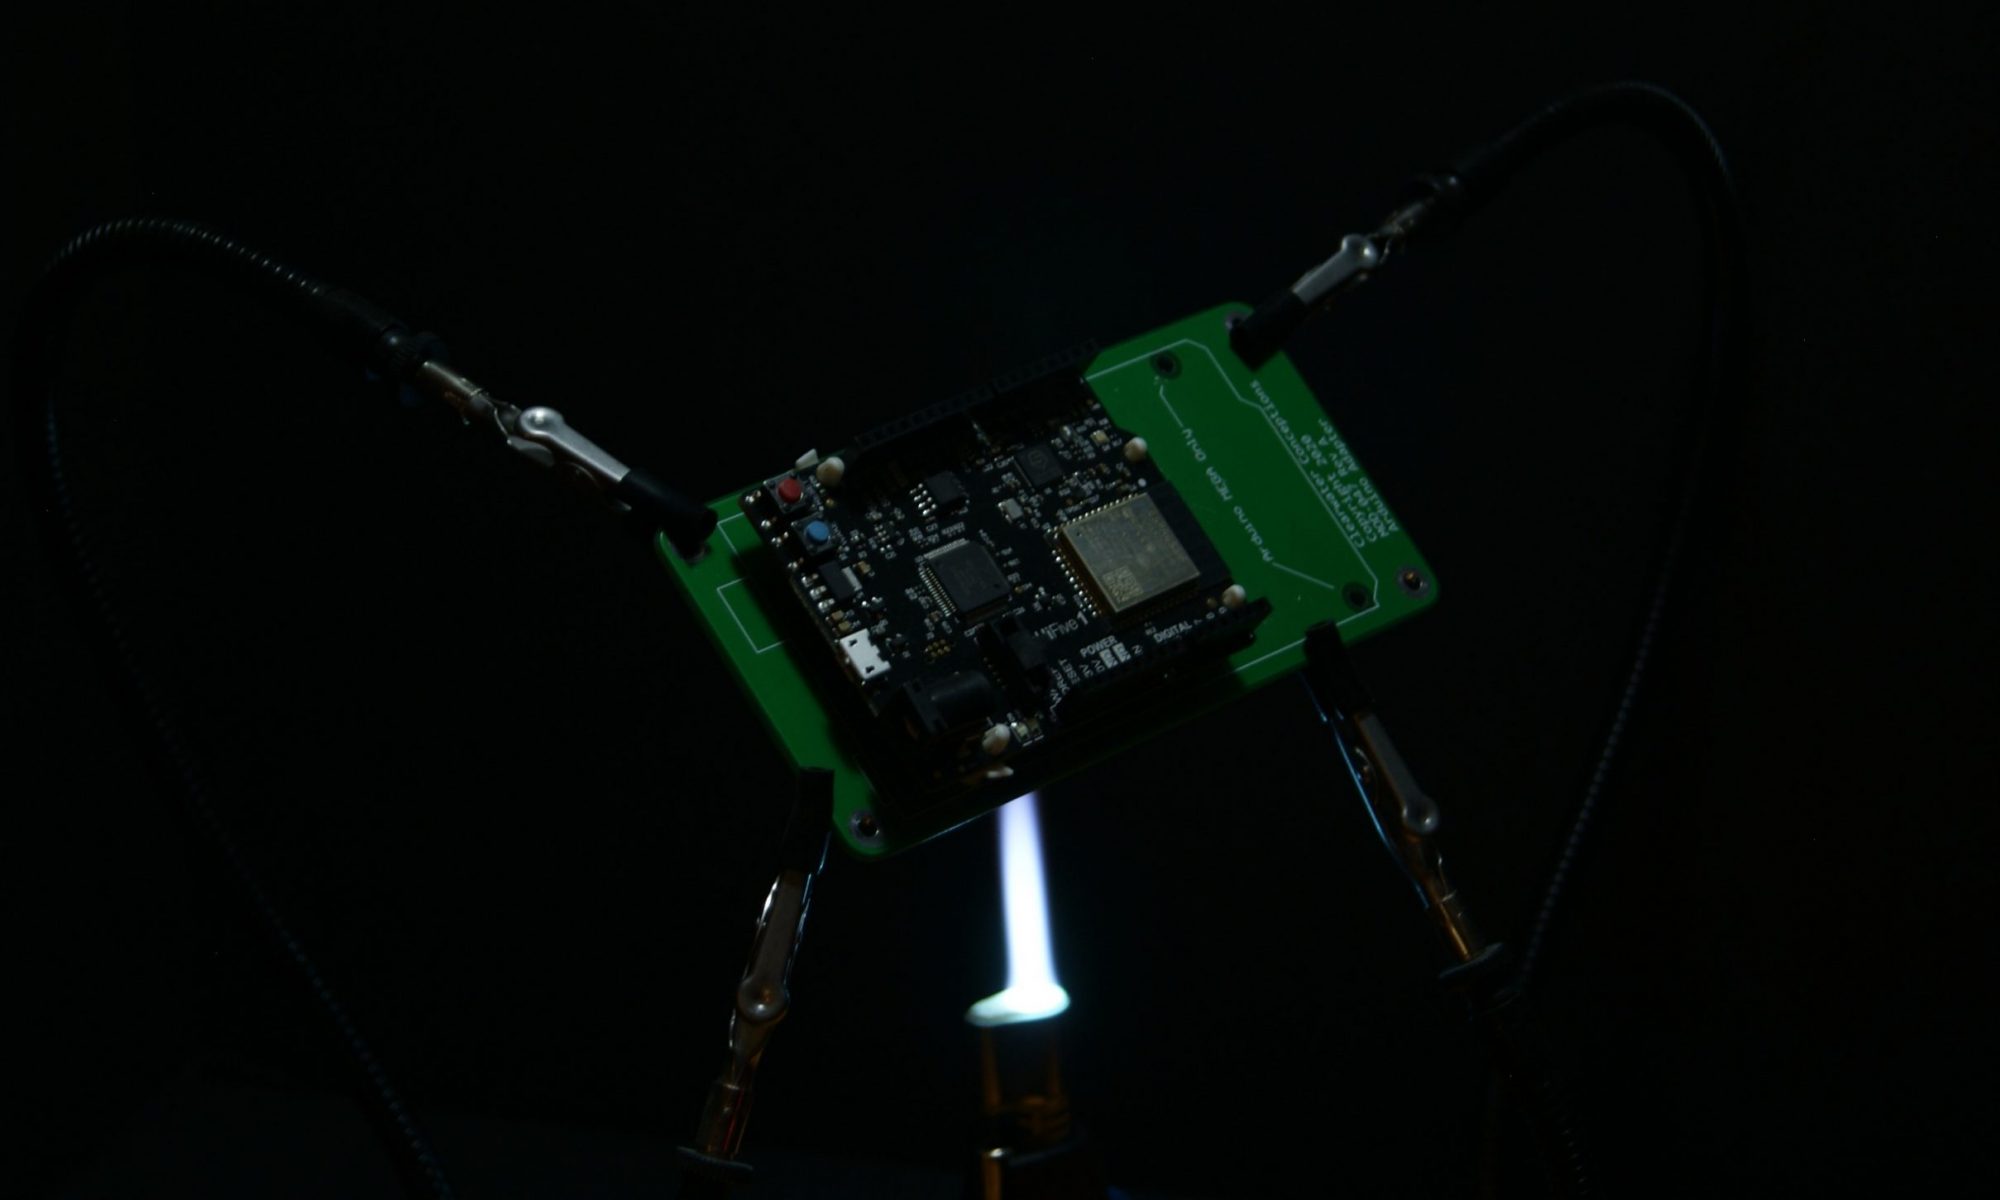
Although, I could control this contraption with some simple hardware, I decided to use an Arduino Nano clone. This will allow me more design flexibility in the future and makes for easier bug fixes. Overall, this was a really neat project that I enjoyed making. If you made it this far, thanks for reading! I'm really hoping to come back to this project at some point and add a RISC-V microprocessor running Rust where we can dive into the software together!
-Your friendly, neighborhood engineer